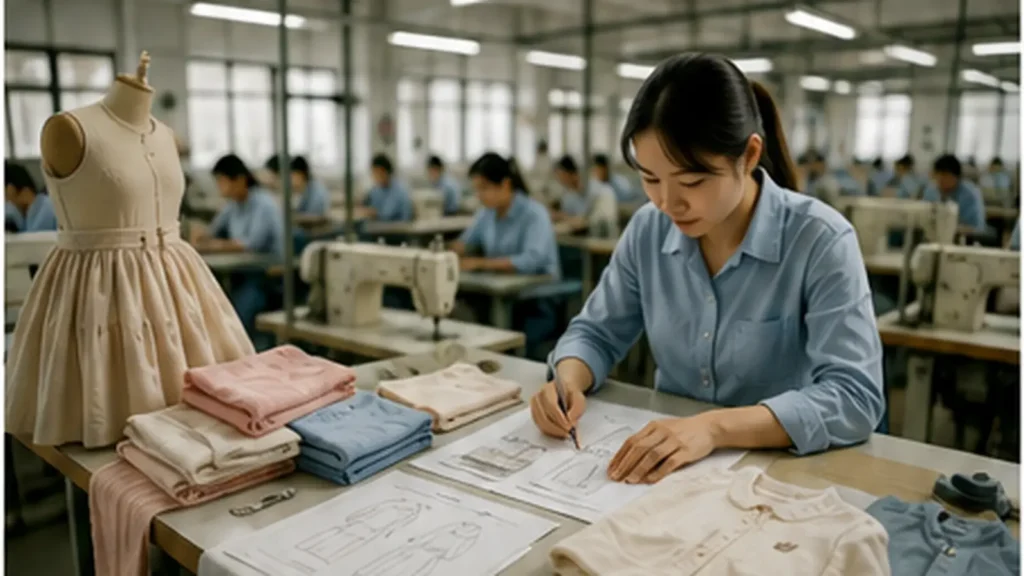
From physical sample and tech pack to one controlled production standard.
Custom garment production becomes much more predictable when your manufacturer can work from both a physical sample and a clear tech pack. The sample shows how the garment behaves in real life. The tech pack explains what the next version must become.
That distinction matters more than it may seem.
A sweatshirt can arrive at the factory with the exact fit you want, while the accompanying specification calls for a longer body, a different fabric, new embroidery, custom labels, and retail-ready packaging. A dress may have beautiful workmanship but an unsuitable zipper for the target age group. A pair of toddler pants may fit perfectly, yet the tech pack lists a different rise and waistband construction.
When those references agree, development can move quickly. When they conflict, the factory has to identify the differences, confirm your intent, and turn several sources of information into one production standard.
In our work with children’s apparel brands, the fastest projects are rarely the ones with the largest number of files. They are the ones where everyone understands which reference controls each decision.
For brands, custom garment production is successful when those references lead to one product that can be measured, approved, and repeated. This guide explains how a garment manufacturer can efficiently convert your physical sample, tech pack, artwork, size chart, and branding files into a repeatable bulk product. You will see how the factory reviews the project, reverse-engineers the garment, resolves discrepancies, sources materials, develops samples, controls revisions, and protects the approved result through production and delivery.
Physical Samples and Tech Packs Solve Different Problems
A physical sample and a tech pack are not competing instructions. Used correctly, they complement each other.
The garment sample gives the factory three-dimensional evidence. A technician can feel the fabric, inspect the seams, stretch the opening, check the rib recovery, compare the front and back balance, and study how the decoration interacts with the material.
The tech pack provides controlled information that cannot always be recovered from a finished garment. It records the intended measurements, tolerances, material descriptions, construction changes, graded sizes, artwork placement, labels, packaging, and commercial requirements.
At HAPA, our product sampling process can begin from a complete tech pack, a physical reference garment, drawings, photographs, or a developed design brief. When you provide both a sample and technical files, our first task is to understand what each item is meant to communicate.
What the Physical Sample Tells Us
A well-chosen reference garment can communicate:
- The intended fit and silhouette
- Fabric weight, softness, stretch, and drape
- Neckline, armhole, sleeve, and body proportions
- Internal seam construction
- Stitch density and topstitching appearance
- Pocket, collar, cuff, hood, or waistband structure
- Print, embroidery, appliqué, sequin, or beadwork quality
- Label position and attachment method
- Finished pressing and wash effect
- The overall quality level you expect
Photographs are useful, but they flatten the product. A photograph cannot reliably show whether a sweatshirt feels dense or spongy, whether an embroidery backing is scratchy, or whether a waistband loses recovery after stretching.
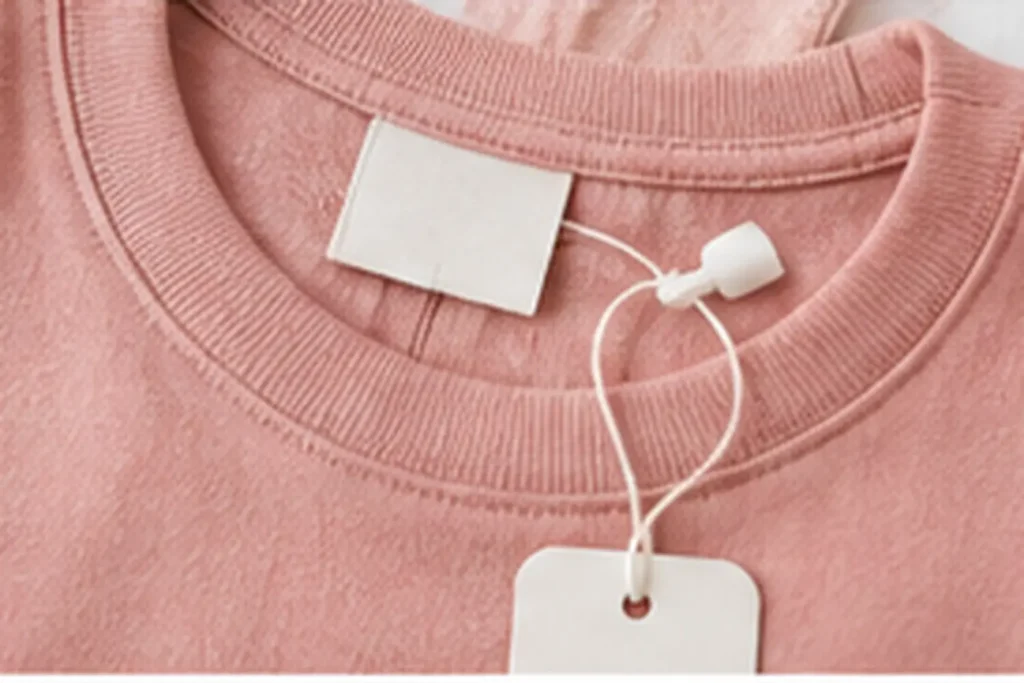
Physical sample analysis reveals construction, materials, and finishing details.
What the Tech Pack Tells Us
A production-ready tech pack normally includes:
- Front and back technical flats
- A points-of-measure chart
- Measurement methods and tolerances
- A bill of materials
- Fabric composition, construction, and weight
- Stitch and seam instructions
- Print or embroidery artwork
- Color references
- Trim and hardware details
- Size range and grading rules
- Main labels, care labels, and hangtags
- Folding and packaging instructions
When buyers ask us how to reduce sample rounds, our answer is usually the same: make the decisions visible. Our guide on how to create a clothing tech pack explains the core technical information a factory needs before it can reproduce a design consistently.
Begin by Defining the Role of the Sample
Before we measure or open a seam, we ask one important question:
What should the physical sample control?
A reference garment may be supplied as:
1. An exact fit reference
2. A construction reference
3. A fabric and hand-feel reference
4. A decoration or workmanship reference
5. A sizing reference for one base size
6. A general inspiration sample
7. A competitor product that must be redesigned rather than copied
These instructions lead to very different development decisions.
For example, you might tell us:
Keep the fit and shoulder shape, but replace the fabric, lengthen the body by 2 cm, remove the pocket, and use the embroidery from the artwork file.
That statement creates a useful hierarchy:
- The sample controls the fit and shoulder shape.
- The tech pack controls the new body length.
- The approved fabric swatch controls the material.
- The artwork file controls the embroidery.
- The final approved pre-production sample controls bulk production.
Without that hierarchy, a merchandiser may follow the tech pack while the pattern maker follows the garment. Both people can work carefully and still produce inconsistent results.
Establish One Source of Truth
Efficient custom garment production depends on converting several references into one controlled standard.
A practical order of authority may look like this:
1. Final written buyer approval
2. Approved pre-production sample
3. Latest approved tech pack
4. Approved fabric, trim, color, and artwork standards
5. Original physical sample
6. Early photographs, sketches, and messages
The exact order can vary, but it must be documented.
In our sample room, we commonly see a physical garment that measures differently from the specification sheet. The issue is not that one reference is automatically wrong. The garment may have shrunk after washing, the tech pack may contain an intentional update, or the measurement method may differ.
The correct response is not to guess. It is to identify the discrepancy, explain it clearly, and ask for one decision.
Step 1: Register and Protect the Physical Sample
When a physical sample arrives, the factory should create an intake record before altering it.
The record can include:
- Client or project name
- Style number
- Garment category
- Stated sample size
- Color
- Condition
- Date received
- Quantity received
- Intended use of the sample
- Return requirements
- Permission to wash, test, open, or disassemble it
We also recommend photographing the front, back, side, interior, labels, decoration, fasteners, and any damaged or worn areas.
Confirm Whether the Sample Can Be Opened
Pattern reconstruction sometimes requires opening seams or separating components. The factory should never cut your only reference garment without approval.
Tell the manufacturer whether the sample may be:
- Measured only
- Turned inside out
- Partially opened
- Fully disassembled
- Washed or tumble-dried
- Submitted for laboratory testing
When the sample is rare, valuable, or required for a presentation, send a second garment if possible.
Explain the Sample’s History
A washed or heavily worn garment may no longer represent its original factory measurements.
It may have:
- Shrunk in length
- Stretched at the neckline
- Lost elastic recovery
- Twisted at the side seams
- Faded or changed hand feel
- Distorted after repeated wear
If the sample has been used, tell the factory how it was washed and whether its current fit is still the fit you want. This helps the pattern maker decide whether to copy the present dimensions or reconstruct the likely original shape.
Step 2: Review the Commercial Brief Before the Technical Details
The factory should understand why you are developing the product before deciding how to make it.
Your brief should cover:
- Target customer and age group
- Destination market
- Product category and intended use
- Target retail position
- Target factory price
- Order quantity
- Quantity by color
- Size range and size ratio
- Season or launch date
- Sales channel
- Required certifications or retailer standards
A technically faithful copy may still be commercially wrong.
A heavy brushed hoodie may match the physical sample but exceed your target price or feel too warm for the intended market. A handmade decorative trim may look beautiful but be difficult to reproduce consistently across several thousand garments. A metal component may need to be replaced for a younger age group.
Good manufacturing is not blind replication. It is the translation of your design intent into a product that can be sold, repeated, and supported.
Step 3: Audit the Tech Pack as a Production Document
A factory should review the entire tech pack before pattern development or material ordering begins.
The review normally checks for:
- Missing measurements
- Conflicting dimensions
- Unclear measurement methods
- Missing tolerances
- Incomplete fabric descriptions
- Unconfirmed colors
- Missing artwork files
- Unspecified stitch or seam details
- Inconsistent size ranges
- Missing label information
- Missing packaging instructions
The audit also compares each relevant item with the physical sample.
Create a Discrepancy Matrix
A simple comparison table turns vague confusion into decisions.
| Product Element | Physical Sample | Tech Pack | Decision Required |
| Body length | 42 cm | 44 cm | Confirm final target |
| Shoulder | Set-in | Dropped shoulder | Confirm new silhouette |
| Main fabric | Brushed jersey | French terry | Approve material direction |
| None | Kangaroo pocket | Follow tech pack or remove | |
| Main label | Printed | Woven | Confirm branding file |
| Packaging | Unknown | Custom polybag | Follow packaging spec |
We prefer to consolidate these questions into one marked-up file instead of sending one message every day. You can review the issues together, make coordinated decisions, and reduce the risk of approving one change that creates a problem elsewhere.
Ask Questions That Are Easy to Answer
Compare these two questions:
Which body length do you want?
and:
The physical sample measures 42 cm from the highest shoulder point, while Tech Pack Version 4 specifies 44 cm. Should the first prototype follow 44 cm?
The second question shows that the manufacturer has reviewed the project and gives you a clear decision to make.
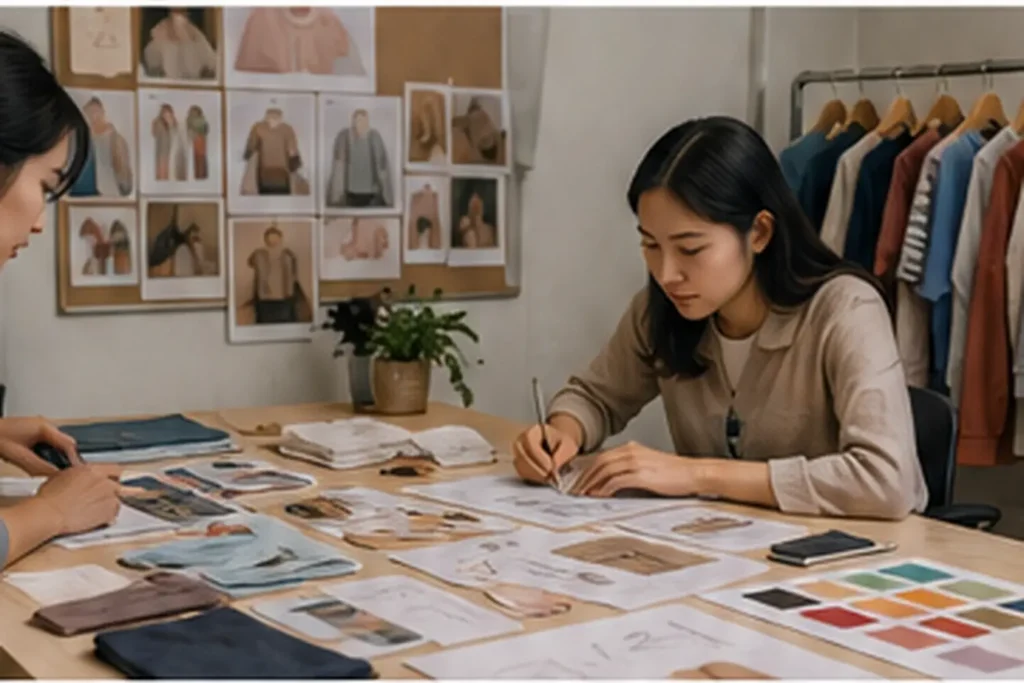
A structured sample-to-tech-pack review helps resolve production discrepancies early.
Step 4: Analyze the Garment Without Copying Its Defects
Reverse engineering is not simply tracing the outside edge of a garment.
The pattern maker studies:
- Pattern-piece count
- Grain direction
- Seam allowances
- Balance and symmetry
- Shrinkage behavior
- Ease and stretch
- Elastic reduction
- Gathering ratio
- Lining and facing construction
- Pocket bags and internal supports
- Notches and match points
- Assembly sequence
A sample can have the correct overall look while containing technical problems.
We may find that:
- The side seam twists forward
- The shoulder pulls backward
- The sleeve rotates
- The front hem rises
- The neckline has stretched
- The crotch is too short
- The two sides are not symmetrical
The goal is to preserve the characteristics you value while correcting defects that would become more visible in bulk production.
Respect Intellectual Property
A market sample can help you communicate fit, material, construction, or quality expectations. It should not be treated as permission to reproduce protected artwork, trademarks, prints, or distinctive design elements.
The World Intellectual Property Organization’s fashion resources explain how trademarks, copyright, and industrial design rights can apply within the fashion industry. When you send a competitor sample, clarify which functional or technical characteristics you want to study and ensure that the final product is appropriately original.
Step 5: Build or Correct the Base Pattern
After the sample role and discrepancies are confirmed, the pattern maker develops the first controlled pattern.
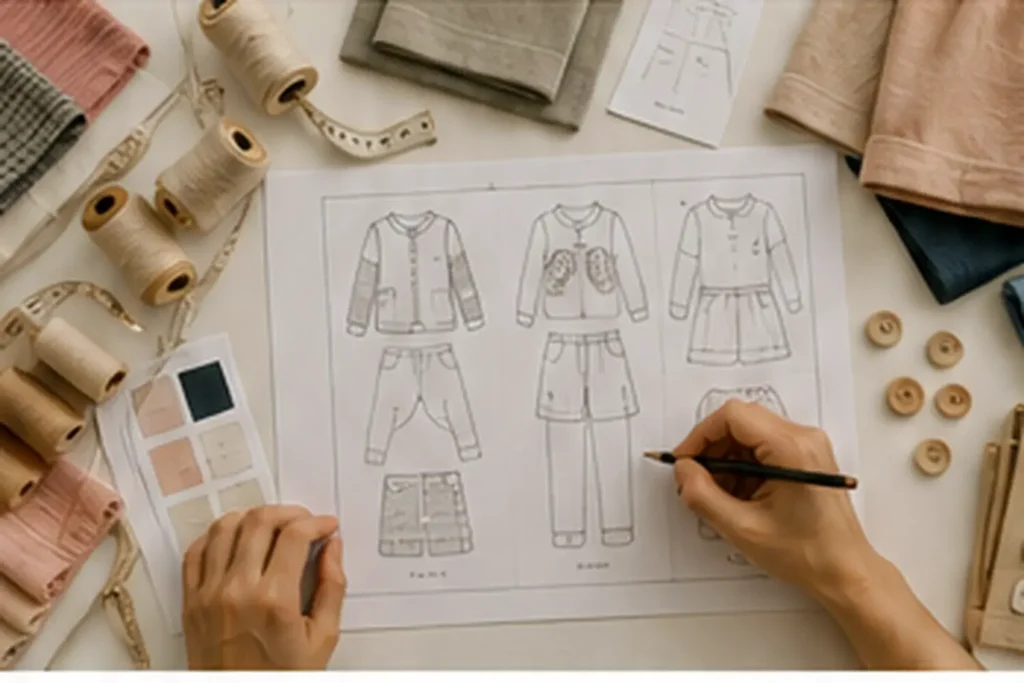
Pattern reconstruction translates sample fit and technical specifications into production-ready patterns.
The pattern may be created by:
- Reconstructing the physical sample
- Modifying an existing factory block
- Using a buyer-supplied digital pattern
- Drafting from the approved measurement chart
- Combining the reference fit with new design details
This is where custom garment production moves from analysis into product development.
Fit Is More Than Matching Flat Measurements
Two garments can have the same half-chest and body length but fit differently because of:
- Shoulder angle
- Armhole shape
- Sleeve-cap balance
- Front and back length distribution
- Neckline stretch
- Fabric recovery
- Seam placement
- Garment wash
That is why we do not judge a pattern only by the specification chart. The chart controls measurable targets; the physical sample helps us understand the intended behavior.
Step 6: Match the Material by Performance, Not by Description Alone
A fabric labeled “100% cotton, 220 gsm” can feel very different from another fabric with the same label.
Material behavior is influenced by:
- Yarn count
- Knitting or weaving structure
- Density
- Brushing
- Compacting
- Washing
- Enzyme or silicone finishing
- Stretch and recovery
- Dyeing and surface treatment
In custom garment production, fabric matching should be based on performance rather than a vague material name. When the original supplier and fabric code are unavailable, the factory should identify the properties that matter most.
A controlled alternative may need to match:
- Composition
- Weight
- Thickness
- Stretch direction
- Recovery
- Drape
- Surface texture
- Softness
- Shrinkage
- Colorfastness
- Print or embroidery compatibility
We normally recommend approving a physical swatch rather than choosing from a photograph alone. Screens are poor judges of color, texture, and hand feel.
Update the Bill of Materials
Every approved component should be entered into the bill of materials with enough detail for purchasing and quality control.
| Component | Information to Confirm |
| Main fabric | Composition, construction, weight, color, finish |
| Rib or contrast | Stretch, recovery, shade relationship |
| Thread | Fiber, ticket size, color |
| Elastic | Width, recovery, elongation, attachment |
| Zipper or snap | Size, finish, function, safety |
| Decoration | Technique, dimensions, placement, backing |
| Labels | Material, size, wording, placement |
| Packaging | Material, dimensions, barcode, warning, folding |
Step 7: Cost the Product After the Main Decisions Are Visible
Accurate custom garment production costing requires more than a photograph or sample. An early estimate can be useful, but the reliable quotation comes after the main technical and commercial decisions are visible.
The factory needs to understand:
- Final material direction
- Pattern complexity
- Construction operations
- Decoration method
- Trim requirements
- Quantity and color breakdown
- Size range
- Labels and packaging
- Testing requirements
A detailed quotation may include:
- Fabric consumption and price
- Trims and hardware
- Printing or embroidery
- Cutting and sewing
- Washing and finishing
- Labels and packaging
- Testing or inspection costs
- Small-order or setup charges
MOQ also needs to be discussed early. The garment factory may accept your requested order quantity while the fabric mill, custom zipper supplier, or packaging printer requires a larger minimum.
Our children’s clothing OEM service connects design review, material sourcing, pattern development, sampling, production, and quality control so these dependencies can be discussed before you commit to bulk materials.
Step 8: Produce the First Prototype
In custom garment production, the first prototype is where assumptions become visible. It translates the confirmed information into a new garment.
It may be called a development sample, fit sample, counter sample, or first sample. Its purpose is not to look impressive in a presentation. Its purpose is to reveal what still needs to be corrected.
The team should evaluate:
- Overall silhouette
- Fit and movement
- Measurements
- Fabric behavior
- Construction
- Decoration
- Comfort
- Workmanship
If substitute fabric is used, the sample report should say so clearly. A substitute may be suitable for checking shape but unreliable for final drape, stretch, shrinkage, or wash performance.
Step 9: Compare the Prototype With All Approved References
The new sample should be reviewed against:
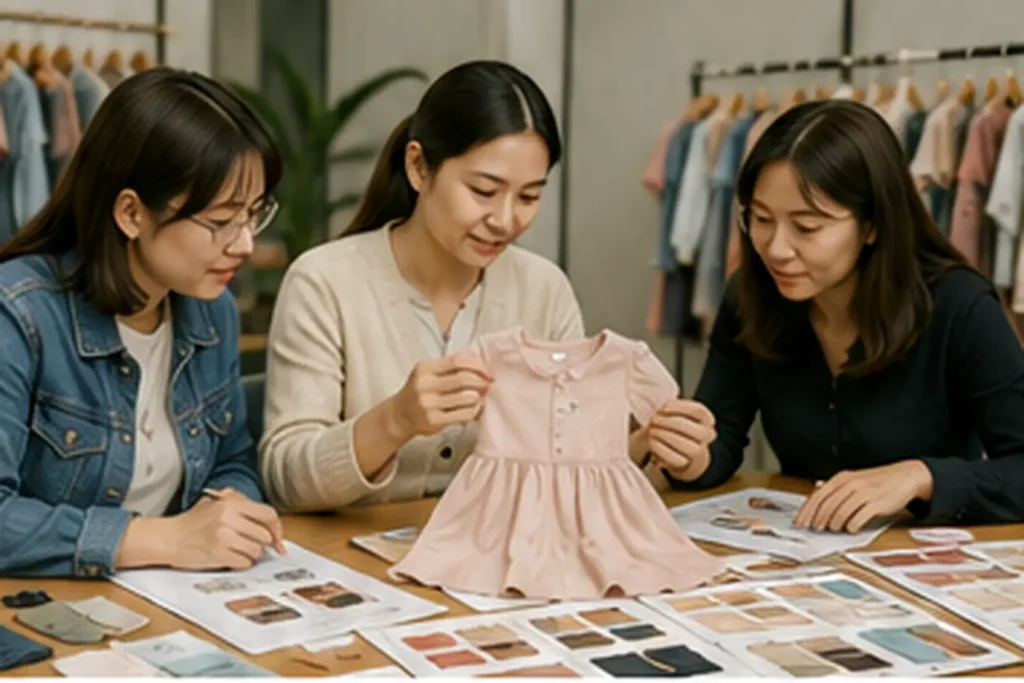
Prototype review aligns fit, proportion, materials, and workmanship before bulk production.
1. The physical reference garment
2. The latest approved tech pack
3. The discrepancy and deviation list
4. Approved material and artwork standards
This prevents a common mistake: making a sample that resembles the original garment but ignores the intended changes.
A useful sample report includes:
- Side-by-side photographs
- Measurement results
- Construction comparison
- Fabric notes
- Decoration notes
- Fit observations
- Wash-test results where applicable
- Open questions
Give Measurable Feedback
Comments such as “make it more premium” or “the body feels wrong” are difficult to execute.
Better comments include:
- Reduce half-chest by 1 cm at the underarm and blend to the existing hem.
- Increase body length by 1.5 cm from the highest shoulder point.
- Move the pocket opening 2 cm upward.
- Reduce embroidery width from 11 cm to 9.5 cm.
- Replace the backing with a softer option.
- Increase neck-rib recovery while maintaining the current opening.
The more measurable the comment, the easier it is to update the pattern and verify the revision.
Step 10: Control Revisions and File Versions
Version control is one of the least glamorous parts of custom garment production, but it prevents some of the most expensive errors.
Every approved change should update the relevant document:
- Pattern
- Measurement chart
- Bill of materials
- Construction page
- Artwork placement
- Trim specification
- Label file
- Packaging instructions
Do not allow the sample to contain changes that are absent from the tech pack.
A good file name includes:
- Style number
- Document type
- Version number
- Revision date
- Approval status
Files called “final,” “final new,” and “final latest 2” invite mistakes. A sewing line cannot reliably interpret a conversation history.
Use One Formal Approval Channel
Messaging apps are useful for quick discussion, but final decisions should be transferred into the controlled project file or email approval chain.
Your team should also appoint one person to issue consolidated comments. Conflicting instructions from several stakeholders can add weeks to development even when each comment is reasonable on its own.
Step 11: Grade the Approved Base Into the Full Size Range
A physical sample usually represents one size. The factory must create the remaining sizes through pattern grading.
Professional grading is not simple percentage enlargement. The pattern maker develops separate rules for:
- Chest and body width
- Body length
- Shoulder
- Sleeve
- Waist and hip
- Rise and inseam
- Neck opening
- Armhole
- Pocket position
- Artwork scale and placement
Children’s garments require particular care because body proportions change across age groups. A baby shape should not simply be enlarged into a toddler pattern.
The size set then checks whether the smallest, middle, transition, and largest sizes remain balanced.
Step 12: Plan Compliance Before Final Approval
For children’s custom garment production, compliance should be planned while materials and construction can still be changed.
For children’s products sold in the United States, the responsible domestic manufacturer or importer may need third-party test results and a Children’s Product Certificate for applicable rules. The U.S. Consumer Product Safety Commission’s CPC guidance explains the certificate requirements and the role of CPSC-accepted laboratories.
Depending on the product and market, the review may include:
- Flammability
- Lead in coatings or accessible components
- Phthalates where applicable
- Drawstrings and cords
- Trim attachment
- Colorfastness
- Shrinkage
- Pilling
- Seam strength
- Restricted substances
- Tracking information
Testing samples should represent the materials and components used in production. If the ink, coating, snap, zipper, or fabric changes after testing, the supporting evidence may need to be reviewed again.
Confirm Labels and Care Information
Labels should be developed from the actual product, not copied from an old style.
For products sold in the United States, the FTC’s textile labeling guidance covers fiber content, country of origin, and responsible-company identification. Care instructions are governed by a separate FTC rule.
The garment, care label, packaging sticker, barcode, carton mark, and shipping documents should all use matching product data.
Step 13: Approve the Pre-Production Sample
The pre-production sample is the final physical bridge between development and bulk manufacturing.
It should use, as closely as possible:
- Final fabric
- Final colors
- Final pattern
- Final trims
- Final artwork
- Final labels
- Final construction
- Final packaging
The buyer should approve the complete product, not only the garment shell.
Before approval, check:
- Measurements and tolerances
- Fit and movement
- Fabric hand feel
- Decoration quality
- Wash performance
- Label content and placement
- Folding and packaging
Once this sample is approved, it becomes one of the main references for production and final inspection.
Step 14: Build the Production Package
The factory now converts the approved development work into instructions for every production department.
The package normally includes:
- Approved tech pack
- Approved pre-production sample
- Final pattern and grading file
- Measurement chart and tolerances
- Bill of materials
- Color and material standards
- Artwork files
- Label specifications
- Packaging instructions
- Quality standards
- Order quantity and size ratio
- Delivery schedule
The merchandiser, pattern room, cutting team, sewing line, decoration department, QC team, and packing team should all receive the same revision.
A pre-production meeting then reviews the high-risk points and explains any intentional differences from the original physical sample.
Step 15: Control the First Bulk Pieces
Before the entire order moves through the line, the factory should inspect the first completed garments.
The review checks:
- Measurements
- Seam appearance
- Stitch density
- Fabric handling
- Trim attachment
- Decoration placement
- Label position
- Pressing
- Overall comparison with the approved sample
If something is wrong, this is the least expensive time to correct it.
The full kids clothing manufacturing process should include in-line checks rather than waiting until the final inspection to discover repeated production errors.
Correct the Root Cause
When a defect repeats, removing the bad garments is not enough. The production team should identify the cause.
Possible causes include:
- Incorrect machine tension
- Wrong seam allowance
- A worn needle
- Fabric instability
- Incorrect pattern version
- Poor operator method
- Misunderstood instruction
- Inconsistent trim quality
A good QC system makes the problem visible early and confirms that the correction remains effective.
Step 16: Finish, Inspect, and Pack Against the Approved Standard
Final inspection should compare the finished order with the approved production package, not with the buyer’s earliest idea.

Final QC verifies measurements and workmanship before packing and shipment.
Inspectors may review:
- Quantity and assortment
- Measurements
- Workmanship
- Fabric and shade
- Print or embroidery
- Trim security
- Labels and tracking information
- Barcodes
- Folding and individual packaging
- Carton assortment and markings
If the order is part of a private-label clothing program, branding and packaging need the same level of control as fit and sewing. A correct garment with the wrong care label or barcode is not ready for retail.
How to Make Sample-Based Production Faster
The fastest custom garment production projects do not skip the decisions that protect bulk production. You speed it up by making each decision once and recording it correctly.
Send a One-Page Project Summary
State:
- What the physical sample controls
- What the tech pack controls
- What must change
- What must remain the same
- Which points are still open
Batch Questions and Answers
Ask the factory to review the complete package and consolidate open questions. Respond to the full list rather than approving details through scattered messages.
Set Approval Deadlines
Give each decision a target date:
- Measurement confirmation
- Material selection
- Color approval
- Prototype comments
- PP-sample approval
- Label and packaging approval
Freeze the Design Before Bulk Ordering
A late “small change” may affect pattern pieces, fabric consumption, trim ordering, testing, cost, and schedule.
Describe What You Like About the Sample
Do not simply write “copy this.”
Write:
- Copy the fit, not the fabric.
- Match the hand feel, but use the new measurements.
- Keep the waistband construction and reduce the rise.
- Match the embroidery quality, but use our original artwork.
- Follow the stitching standard, not the current label placement.
These instructions allow the technical team to focus on the details that actually matter to you.
What You Should Send to the Manufacturer
For an efficient inquiry, prepare the following.
Physical Materials
- Clean reference garment
- Separate fabric or trim swatches
- Color standard
- Packaging reference where applicable
Technical Files
- Latest tech pack
- Editable technical drawings
- Measurement chart
- Bill of materials
- Artwork files
- Label files
- Packaging artwork
Commercial Details
- Order quantity
- Quantity by color
- Size range and ratio
- Target price
- Destination market
- Delivery date
- Sales channel
- Testing requirements
Written Instructions
- What to preserve
- What to change
- What to improve
- Which reference controls each product element
- Whether the sample may be opened or tested
- Whether it must be returned
A Source-of-Truth Template You Can Copy
| Product Element | Controlling Reference |
| Overall fit | Physical sample |
| Body length | Latest tech pack |
| Main fabric | Approved physical swatch |
| Construction | Sample, except listed changes |
| Artwork | Vector file and approved strike-off |
| Size range | Graded measurement chart |
| Labels | Approved branding specification |
| Packaging | Packaging artwork and packed sample |
| Bulk standard | Approved PP sample and production pack |
This table may take five minutes to prepare and save several days of back-and-forth.
Common Problems That Slow the Project
The Sample and Tech Pack Contradict Each Other
The factory does not know which reference is current.
Better approach: Create a discrepancy matrix and confirm the order of authority.
The Sample Is Worn or Washed
Its dimensions may no longer represent the original garment.
Better approach: Explain its history and identify whether the present or original fit should be followed.
The Brand Requests an “Exact” Fabric Without Supplier Data
The material cannot be objectively identified.
Better approach: Define the properties that matter and approve a controlled equivalent.
Subjective Comments Replace Technical Decisions
“Make it more premium” means different things to different people.
Better approach: Specify the heavier fabric, softer backing, cleaner topstitching, denser embroidery, or upgraded hardware you expect.
The Tech Pack Is Not Updated
Bulk teams work from old measurements or materials.
Better approach: Issue a controlled revision after every approved sample round.
New Changes Continue After PP Approval
The product is never truly ready for production.
Better approach: Freeze the design before bulk material ordering and cutting.
An Indicative Development Timeline
Every product is different, but a well-prepared project may follow this sequence:
| Stage | Typical Planning Range |
| Sample intake and technical audit | 2–5 working days |
| Open-issue confirmation | Depends on buyer response |
| Pattern and material direction | 3–10 working days |
| First prototype | 1–3 weeks |
| Revision round | 1–2 weeks per round |
| Size set and final material approval | 1–3 weeks |
| PP sample and testing | Product- and market-specific |
| Bulk material preparation | 2–5 weeks |
| Production, inspection, and packing | Quantity- and complexity-specific |
These are planning ranges, not guarantees. Custom fabrics, complex decoration, laboratory testing, high-volume orders, and slow approvals can extend the schedule.
Frequently Asked Questions
Can a Manufacturer Work From a Physical Sample Without a Tech Pack?
Yes. A capable technical team can measure the garment, analyze its construction, create a pattern, and prepare a working specification.
You will still need to confirm materials, branding, size range, order quantity, target market, and any intended changes. The factory should build a controlled technical document before bulk production.
Is a Physical Sample Better Than a Tech Pack?
Neither one is universally better.
The sample communicates fit, hand feel, construction, and real proportions. The tech pack communicates measurable requirements, changes, size grading, branding, and packaging. Using both usually gives the factory a stronger foundation.
What Happens When Their Measurements Differ?
The manufacturer should identify the exact discrepancy, explain the measurement method, and ask you to approve the intended result. It should not silently choose one value.
Can the Factory Match the Fabric Exactly?
An exact match may be possible when the original supplier or fabric specification is known.
When it is not known, the factory can source or develop a comparable option based on composition, weight, construction, stretch, recovery, texture, and hand feel.
Can I Send a Competitor Product as a Reference?
You can use a market sample to communicate functional, fit, material, or quality expectations. Your final design should avoid unauthorized use of protected trademarks, artwork, prints, and distinctive design elements.
Will the Factory Return My Sample?
Usually, but you should confirm this before shipping. State whether the sample may be opened, washed, tested, or disassembled and whether return shipping is required.
How Many Sample Rounds Are Normal?
A clear project may reach approval in one or two rounds. Complex products, custom materials, changing designs, or incomplete specifications may require more.
The aim is not to minimize the number at any cost. It is to resolve the important issues before bulk production.
Who Creates the Tech Pack When I Only Have a Sample?
Many full-service manufacturers can develop technical drawings, measurement charts, construction details, and a bill of materials from the sample and your brief.
You should review and approve the document because it becomes part of the production standard.
What Finally Controls Bulk Production?
The approved pre-production sample, latest tech pack, final pattern, approved materials, and written decisions should work together as the production standard.
The original reference garment remains useful, but it should not override later approved changes.
Final Thoughts
Reliable custom garment production is not achieved by handing a sample to the sewing line and asking the factory to make the same thing.
The manufacturer has to translate physical evidence and written instructions into one controlled system.
The sample shows how the garment fits, feels, stretches, hangs, and is constructed. The tech pack records the measurements, materials, colorways, size grading, artwork, labels, and intended changes. The approved prototype confirms that those sources have been interpreted correctly.
The process works best when you and your manufacturer:
1. Define what the sample is meant to control
2. Audit the tech pack and sample together
3. Resolve every meaningful discrepancy
4. Build or correct the production pattern
5. Approve materials by performance
6. Review a measurable prototype
7. Update every technical document
8. Approve the size range and PP sample
9. Control bulk production against one shared standard
10. Inspect branding and packaging as carefully as the garment
At HAPA, we support children’s apparel brands through sample analysis, tech-pack review, pattern development, material sourcing, sample making, size grading, special decoration, private labeling, bulk production, quality control, packaging, and shipment preparation.
When the references are organized and the approval path is clear, the factory can move faster without cutting corners. You receive a product that is easier to inspect, easier to reorder, and more consistent across the full production run.