Yes. A clothing manufacturer with a patternmaker and a product-development service can create patterns from sketches even if you do not arrive with a finished tech pack. The condition is that someone must turn the missing information into agreed decisions before the garment can be sampled reliably and manufactured consistently. A factory offering sewing only may expect you to supply those decisions and the patterns yourself.
You do not need to become a technical designer before making your first inquiry. You do need to explain what you want, identify what you have not decided, and agree who will develop the specifications. A clear front-and-back sketch, a useful fabric reference, a target customer, and an honest list of questions can start a productive conversation.
I would treat the first assignment as a development project with defined deliverables. Its purpose is to establish the garment, test the fit, and record the approved version. Ordering bulk production comes later. That distinction helps you ask better questions, compare quotations, and avoid approving a sample that looks attractive but cannot yet be repeated across your size range.
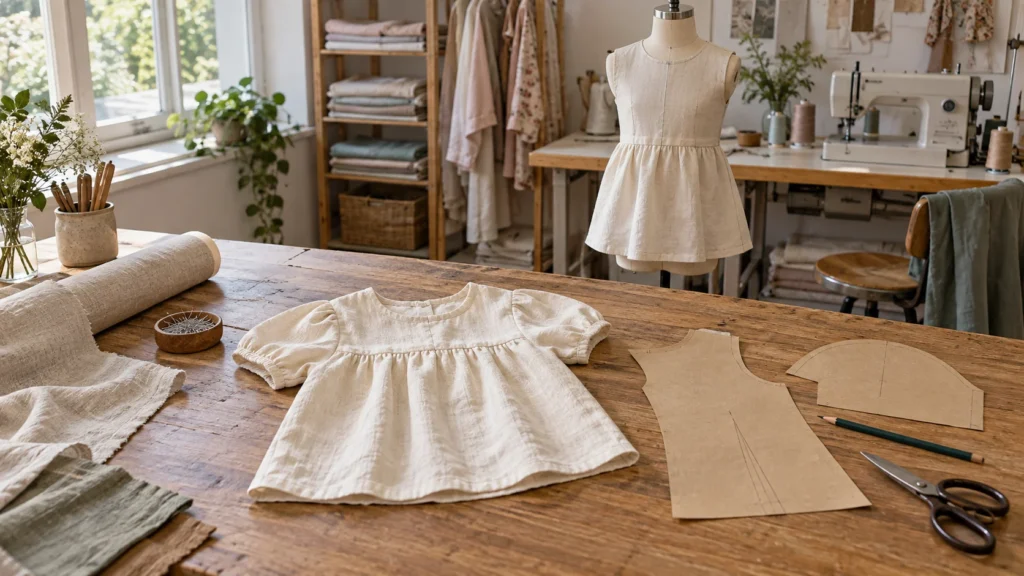
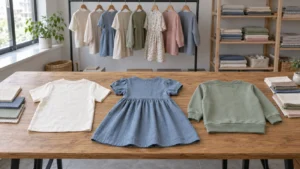
Figure 1. A development brief connects the design with the pattern.
Confirm that you are buying development support
The important question is not simply whether the factory accepts a sketch. Ask whether it can interpret the design, develop the base pattern, make a prototype, assess the result, and document the changes. These are separate tasks, and they may involve different people inside or outside the factory.
A sketch, a pattern, and a tech pack do different jobs
A design sketch communicates appearance and intent. It may show the silhouette, seam positions, pockets, closures, and decoration. A technical flat is a more explicit front, back, or detail drawing, generally shown without the distortion of a fashion pose. Neither automatically supplies the dimensions and construction information needed to make the garment.
A pattern defines the shapes used to cut and assemble the material. Its production information can include seam allowances, grain direction, matching points, and other instructions needed by the cutting and sewing teams. A tech pack collects the wider specification: drawings, measurements, materials, construction details, size information, labels, packing, and the record of approved changes.
Creating patterns from sketches therefore does not eliminate technical documentation. It changes who prepares it and when it becomes complete. You can start with a drawing and build the specification alongside the sample, provided the final decisions are captured rather than left in a conversation.
Ask who will interpret the missing details
Request a clear description of the development service. Who draws the technical flats? Who proposes the initial measurements? Who comments on fit? Who maintains the latest specification? If the contact person forwards messages to a separate pattern room, ask how questions and approvals reach that team.
The Fashion Institute of Technology’s patternmaking course descriptions distinguish work from technical specification sketches, corrections for fit and balance, and pattern grading. That educational sequence is useful context: producing a cutting shape is one step in developing a repeatable garment.
When discussing children’s clothing OEM development with HAPA, ask which of these tasks is included in your proposed project. Do not infer the scope from the words OEM, ODM, or private label alone. Request the actual deliverables and approval points for the style you want to make.
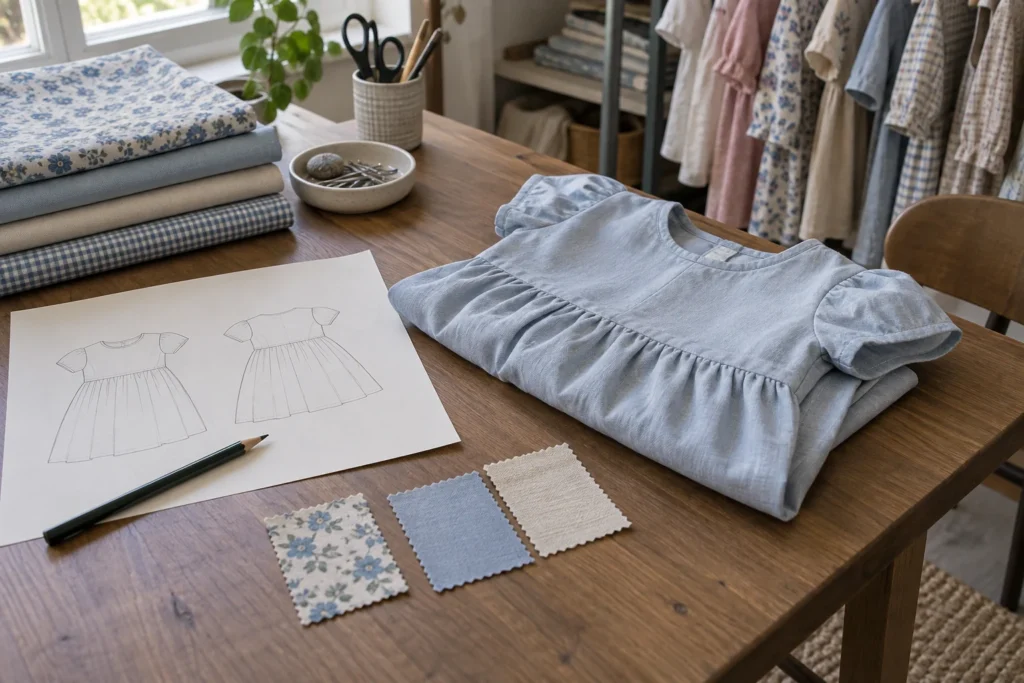
Figure 2. Use sketches, fabric references, and samples to clarify the brief.
Send a clear brief before a polished tech pack
You can help a manufacturer develop patterns from sketches by reducing uncertainty at the first handover. A useful brief identifies the decisions already made and the questions the developer needs to resolve. Mark unresolved items as questions so the developer can propose options.
Show the whole garment and the important details
Include front and back views, even if they are hand drawn. Add a side view when depth or placement is difficult to understand. Use close-up drawings for an unusual opening, a pocket construction, a layered panel, or an adjustable feature. Explain which lines represent seams and which are decoration.
You do not need perfect drawing skills, but you do need consistency. If the front view shows a gathered waist and the back view shows a straight panel, explain how they connect. If a photograph is included, identify the feature it illustrates. Otherwise, a reference for sleeve shape can accidentally become a reference for fabric, fit, and finish as well.
In a hypothetical brief for a child’s everyday top, you might specify a relaxed body, short sleeves, a plain neckline, and one functional chest pocket. You could then ask the manufacturer to propose the neckline finish and starting measurements. This separates your design choices from the technical decisions that still need development.
Explain who will wear it and how it should feel
State the intended age or customer group, destination market, and use. A top designed for active play raises different questions from a structured occasion garment. Explain whether the fit should be close, regular, or roomy and what the garment is expected to be worn over or under.
If you have a reference garment you are entitled to use, describe what works and what should change. A physical example can communicate fabric feel, opening size, and proportions more clearly than a photograph. It should support your own design brief, not serve as an unexplained instruction to reproduce every feature.
Avoid mixing body measurements with finished-garment measurements. The first describes the wearer; the second describes the product. Ask the technical developer to identify both where necessary and explain how the intended ease is being interpreted. Label the units, measurement method, and sample size so nobody has to infer them.
Give the fabric enough attention
Name the composition and structure if you know them, and provide a swatch when possible. If you do not, describe the intended weight, stretch, surface, and drape, then ask for suitable options. Approve the selected material before treating a pattern as final.
A picture alone cannot establish how fabric behaves. Two pale cotton fabrics may look similar online while producing different volume, recovery, or seam appearance. Record which fabric is being used for the prototype and which is intended for bulk. If they differ, ask what the prototype can reasonably prove.
Finish the brief with quantity, size range, target price position, and desired launch timing. These are planning inputs, not promises. A developer can then explain whether your design choices fit the intended production route and which unanswered questions prevent a firm quotation.
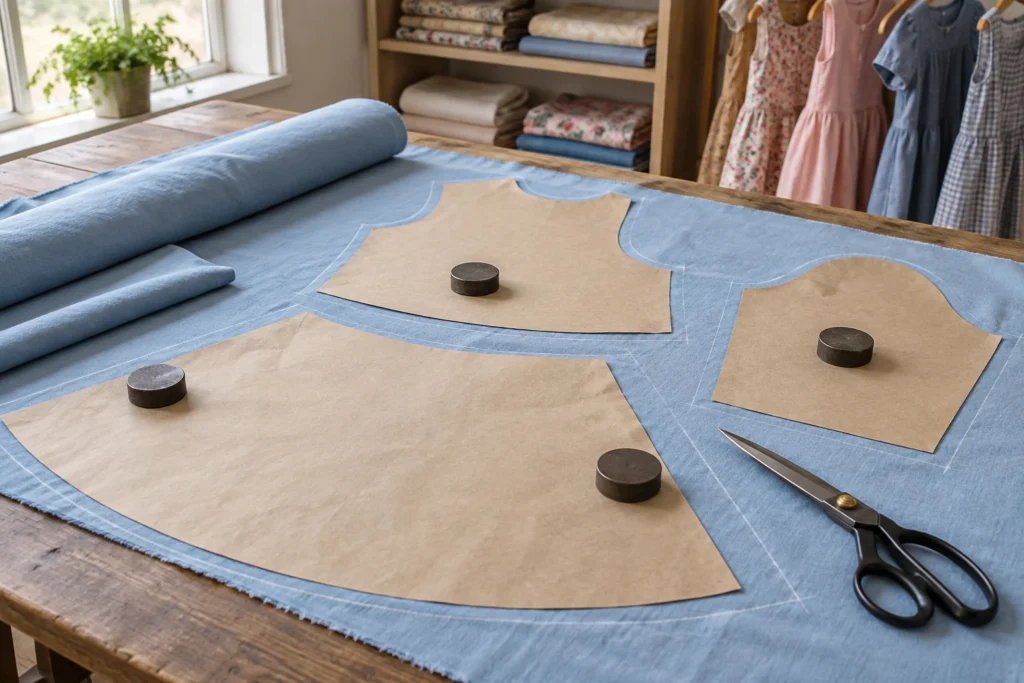
Figure 3. Pattern pieces translate the approved design into cutting shapes.
Turn the approved brief into a pattern and sample
A sensible workflow for patterns from sketches moves through interpretation, construction, and verification. The steps may overlap, but you should know what each stage is intended to resolve. Ask the manufacturer to describe its sequence before you pay for development.
Agree the interpretation before cutting
Review the technical drawing and the proposed base-size specification. Resolve the visible details that would be expensive to reinterpret after sewing: seam placement, garment length, opening construction, pocket position, and the general fit. Record any supplier assumptions beside the design.
A useful review question is, “What have you had to decide that was not shown in my sketch?” This invites the patternmaker to explain practical choices. It can reveal that an opening needs another fastening, that a decorative panel changes assembly, or that your reference photographs imply different proportions.
Do not demand that the team silently guess every missing detail and then judge the result against an image in your head. Give the developer permission to ask questions, and identify which design elements are fixed. That makes technical input easier to distinguish from an unwanted design change.
Review the base pattern through a prototype
The patternmaker may adapt an existing block or create a new base, depending on the garment and the service agreed. Ask which route is proposed and why it suits your customer. An existing block can be a starting point, but its previous use does not establish that it matches your fit requirements.
A toile or early prototype can expose proportion and assembly issues before the final sample is made. Its usefulness depends on the material and purpose. A stable woven test fabric may help investigate shape, while telling you little about the behavior of a stretchy jersey. Ask the developer to explain the limits of the test.
UAL’s garment technology qualification guide links technical specification drawings, initial samples, and subsequent alterations in its product-development unit. The practical lesson for your project is to leave room for review and correction rather than treating the first sewn interpretation as the finished specification.
Use one clear set of sample comments
When reviewing patterns from sketches, turn comments into observable changes. “The sleeve looks wrong” gives little direction. A better comment identifies the sample, the affected area, what you observe, and the result you want. Where you cannot prescribe a technical correction, ask the patternmaker to propose one.
Consolidate feedback from your team before sending it. Assign a revision identifier and distinguish required changes from questions. If one person asks for a wider body while another asks for a slimmer silhouette, settle that conflict before the sample room receives the instructions.
Request confirmation of which comments were implemented. Keep earlier samples and files identifiable so they cannot be mistaken for the approved version. A short change log is useful here: it tells you why a measurement changed and whether the latest sample includes that change.
Grade after the base fit is resolved
Once the base size is approved, confirm the intended grading approach and the samples needed to assess the range. Grading changes dimensions between sizes; it is not simply enlarging every line by the same percentage. Ask who prepares the grade rules and who approves the finished measurements.
For children’s clothing, be explicit about the body-size reference behind your age labels. A familiar label such as “4 years” is not a complete fit specification. Review the sizes and proportions that matter to your target customer, and agree where a separate block or additional fit assessment may be needed.
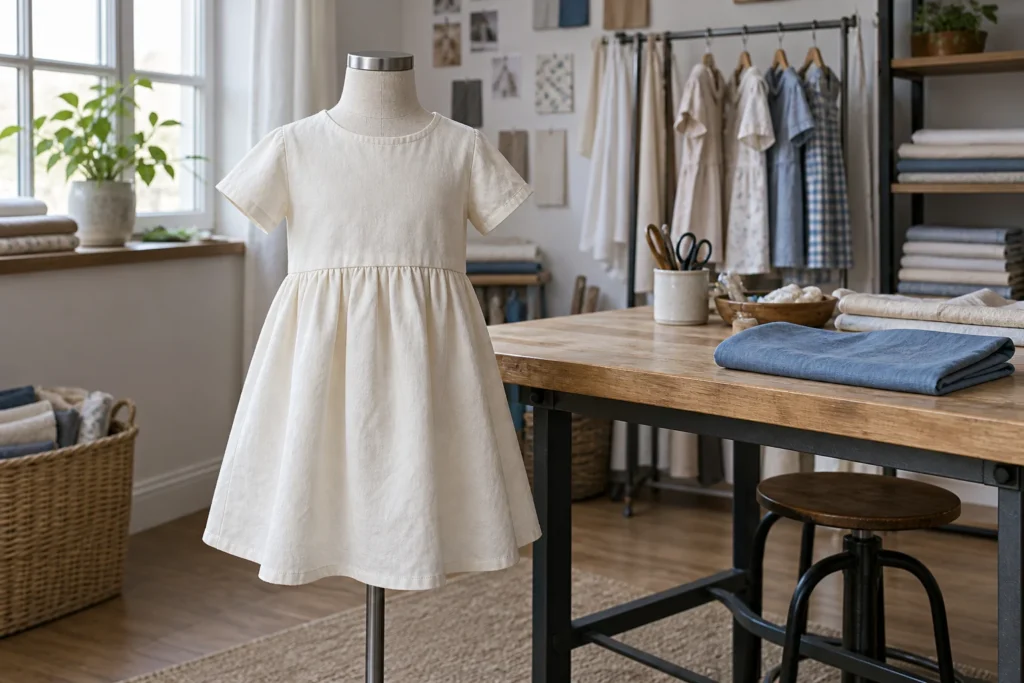
Figure 4. A toile helps assess proportions before final approval.
Check fabric behavior, fit, and children’s product details
A manufacturer can produce patterns from sketches that closely resemble your drawing while still missing the fit or function you intended. Your approval process needs to examine the garment in use, not only laid flat on a table.
Separate appearance approval from fit approval
Review length, balance, neckline position, sleeve movement, and the behavior of openings. Ask how the garment will be assessed on a suitable fit reference. A dress form, a flat measurement check, and a wearer fitting provide different information; agree which combination is appropriate for the product.
For children’s clothing, consider dressing and movement as part of the brief. Can the intended wearer get through the opening comfortably? Does the garment allow the movement expected for its use? Will a bulky seam or stiff fastening sit against the skin? Have the technical team assess these questions rather than assuming a pleasing photograph answers them.
Digital samples can help communicate proportion and proposed construction. They remain dependent on the pattern, avatar, material inputs, and simulation settings. Ask what will still be checked physically before approval. A persuasive rendering should not replace a material or fit check that your product needs.
Recheck the pattern when the material changes
Fabric substitution can change the result of patterns from sketches even when the outline on paper is unchanged. If you switch from a firm knit to a softer, stretchier option, request a review of fit and construction rather than assuming the approved sample still represents the new product.
Agree how the sample will be evaluated after the intended care process. Discuss shrinkage, recovery, twisting, surface appearance, and other relevant performance requirements with the developer. Specify the method and acceptance criteria appropriate to the garment instead of adding an unexplained instruction such as “wash tested.”
Document any adjustment that follows. If a length is changed to address shrinkage, identify the material and process behind that decision. Otherwise, a later fabric change can leave the old adjustment in place even though its original reason no longer applies.
Review potentially risky details before approving the design
Children’s garments need destination-specific review of applicable safety requirements. For a concrete U.S. example, CPSC identifies hood and neck drawstrings in children’s upper outerwear sizes 2T through 12, and certain waist or bottom drawstrings in sizes 2T through 16, as substantial product hazards. See the CPSC guidance on children’s outerwear drawstrings.
This is a scoped example, not a complete compliance checklist for every garment. Give your qualified reviewer the intended use, sizes, materials, trims, and sales market. Ask which design decisions and verification steps must be resolved before production. Resolve an unsuitable feature while it is still a drawing rather than after the pattern and trims have been approved.
A development partner should be able to explain its review responsibilities without promising that one attractive sample proves compliance. HAPA’s guide to evaluating an OEM kidswear manufacturer offers related questions for supplier discussions. Verify the relevant answers for your own product and proposed service.
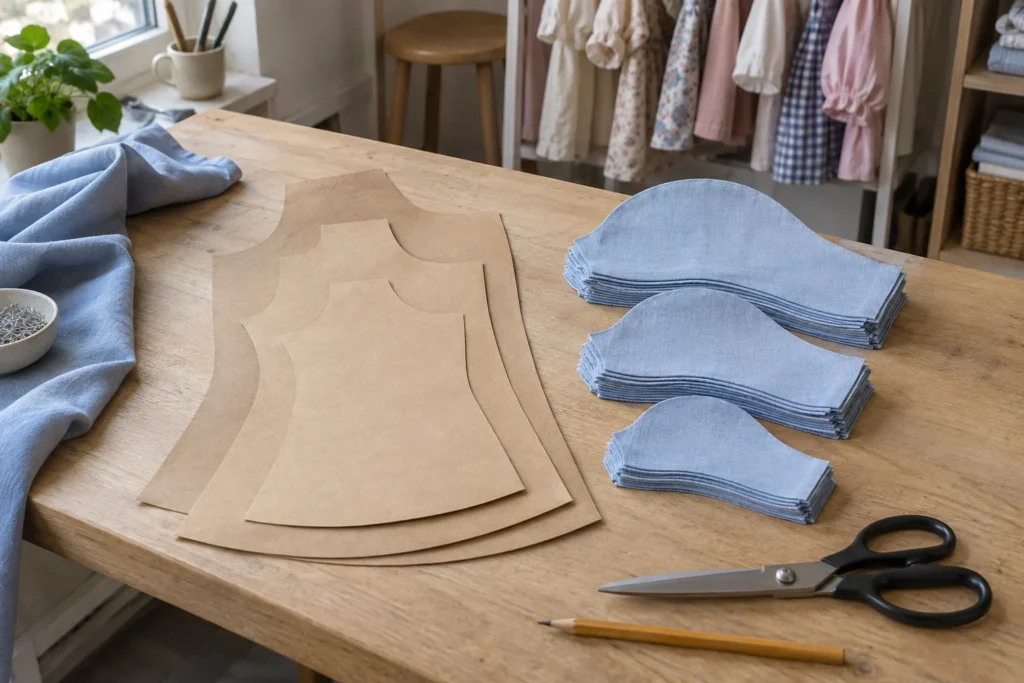
Figure 5. Agree the size range and pattern files to be delivered.
Agree fees, responsibilities, and the file handover
Ask for patterns from sketches to be quoted as a defined development scope. A single “sample fee” may cover very different work between suppliers. Itemization helps you understand what you are buying and which decisions will create additional charges.
Compare deliverables rather than a headline fee
Ask whether the quote includes design interpretation, technical flats, the base pattern, sample sewing, materials, fit revisions, grading, and the final specification. Confirm the number and type of sample rounds included. Clarify how a correction differs from a new design request under the agreed terms.
Do not assume a development fee will be credited against a bulk order. Ask whether a credit exists, what triggers it, and whether it expires. Similarly, clarify whether sampling commits you to a production quantity. You should understand those terms before using the sample stage to compare options.
There is no universal development price or turnaround that can be promised from a sketch alone. Complexity, material sourcing, the completeness of your brief, and the number of unresolved decisions all affect the work. Request a dated quotation and a schedule tied to approvals, rather than a generic delivery claim.
Specify the files you expect to receive
If you commission patterns from sketches, agree the ownership, permitted use, and handover arrangements in writing. Paying for a physical sample should not be treated as automatic confirmation that editable patterns, grading files, and technical documents are included. Ask explicitly.
Clarify the native pattern-file format, available exchange formats, units, size information, and whether seam allowances are included. If you expect another factory to use the files, ask how compatibility will be checked. A PDF can be useful for review without necessarily being an editable production-pattern handover.
Also distinguish a supplier’s pre-existing block from the custom work developed for your style. Agree how the completed pattern may be reused, what is retained by the supplier, and what you can take to another partner. Where ownership or exclusivity matters to the business, resolve the wording before development starts.
HAPA’s private label manufacturing service can provide a starting point for discussing the broader project, but your quotation should specify the work and files included. Keep branding, development, and production responsibilities clear even when one supplier coordinates them.
Keep the approval record usable
Assign one person to release the final specification. Store the approved drawings, measurements, materials, pattern revision, sample comments, and packing instructions together. Ask the factory to confirm the exact revision it will use for production.
Record remaining conditions instead of issuing a vague “approved” message. A sample may be approved for silhouette while its color or fastening is still unresolved. State what the approval covers, what remains open, and whether any production activity is authorized.
The record should also explain how later changes are handled. A material substitution, measurement adjustment, or new trim needs a documented decision and any necessary rechecking. The aim is to preserve a shared product definition after the initial excitement of developing the style has passed.
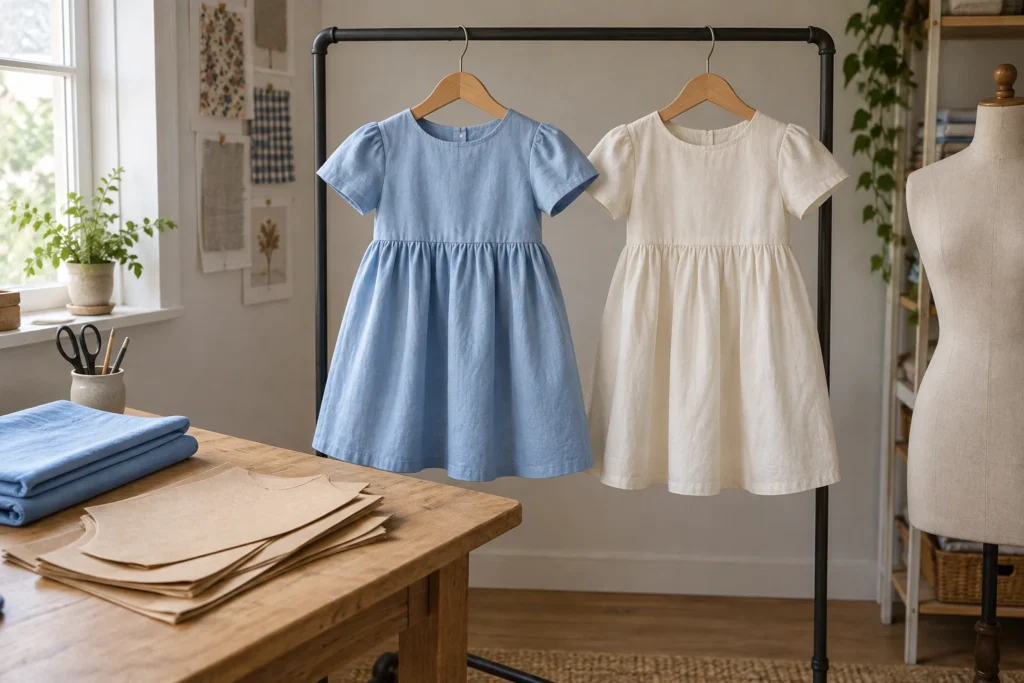
Figure 6. Keep the final sample and its specification aligned.
Know when the style is ready for production
Starting with patterns from sketches is a practical route when the development responsibilities are clear. Before releasing production, check whether someone unfamiliar with the original discussion can identify the version to make and the criteria for accepting it.
Use a short handover check
Review the technical drawing against the approved sample. Confirm that the measurement specification, material references, construction details, and pattern revision agree with that sample. Resolve contradictions before bulk cutting begins; a newer file name does not necessarily mean the contents are correct.
Check the size range and any agreed size-set results. Confirm labels, decoration, packing, inspection criteria, and outstanding product-verification work. Make sure the team knows which physical sample is the approval reference and where the final files are stored.
For a broader sourcing checklist, HAPA’s guide to finding a kids clothing manufacturer can help you organize questions. Use those questions to test the proposed working process, not to substitute a website description for project-specific evidence.
Can I start with a rough hand drawing?
Yes, if it communicates the idea well enough for a developer to ask useful questions. Include both sides and explain hidden details. Tell the manufacturer where you need help. You can commission clearer technical drawings as part of the development stage rather than pretending the rough sketch is complete.
If the drawing is ambiguous, expect an interpretation step before patternmaking. Approve that interpretation so the patternmaker has a defined brief. This is often a better use of your attention than polishing the presentation while leaving the fit and material undecided.
Can a manufacturer work from a photograph instead?
A photograph can help, but it may conceal seams, openings, dimensions, and the reverse side. Supply additional views and identify your own intended changes. Ask the manufacturer which details cannot be determined from the image and what references would resolve them.
Use references you are entitled to share and make your design intent explicit. An image found online does not itself establish permission to reproduce a product. If permissions are uncertain, settle that issue before instructing a supplier to copy distinctive features.
Do I still need a tech pack at the end?
You need a sufficiently complete, controlled specification for the work you are ordering, whatever the supplier calls the document. It may be assembled progressively during development. Before bulk production, it should record the approved product rather than the initial guesses.
When you request patterns from sketches, ask for that final documentation as a deliverable from the beginning. Send your sketches, explain your customer and fabric direction, and ask the manufacturer to identify the missing inputs, proposed stages, fees, and handover files. You can then move from an idea to an approved garment with a clear basis for every production decision.