Many parents dream of hand-sewing a dress for their child. The sense of pride is indescribable. Nothing compares to watching your little girl twirl in a creation you made yourself.
This guide is suitable for everyone, from beginners to designers. We break down the process into simple steps. Here is how to make a dress from scratch.
Tools You’ll Need
Before making a dress for a girl, make sure you have the following tools prepared:
Scissors
Use them to cut the fabric. A sharp pair of dressmaking shears works best, as they provide smoother cuts and clean edges.
Measuring Tools
A soft measuring tape is essential for taking body measurements, while a ruler helps when drafting patterns or marking straight lines with accuracy.
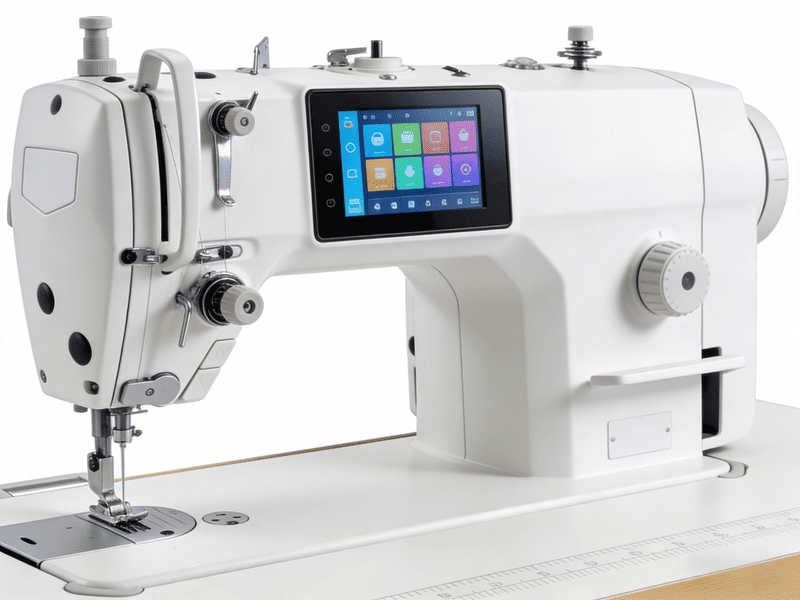
Sewing Machine
A sewing machine is your best helper—it greatly improves efficiency when constructing a dress.
If you don’t have one, hand-sewing is also possible, though it will require more time and effort.
For hand-sewing, prepare needles of different sizes depending on the fabric weight.
Thread
Choose thread that matches the color of your fabric so the stitches blend in beautifully.
Different fabrics may require different thread types—for example, cotton thread works well for cotton fabrics.
Pins
Pins help secure fabric pieces in place while sewing, preventing shifting and ensuring accurate seams.
Iron
Ironing helps keep the fabric smooth and ensures a crisp, well-shaped finished dress.
You may need to iron the fabric both before cutting and during the sewing process.
Complete Process for Making Girls’ Dresses
Step1. Choosing the Fabric
The first step is choosing the right fabric. As professional manufacturers, we rely on specific materials. Common choices include cotton, linen, chiffon, silk, and knits.
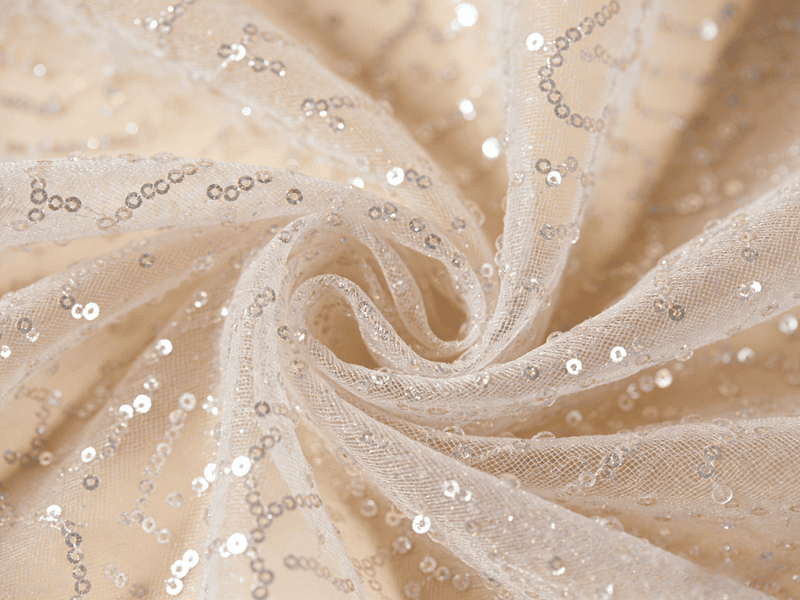
Want a unique or eye-catching look? Opt for sequined fabrics. Great options include sequin tulle, satin, or velvet. These materials add sparkle. They are perfect for formal gowns, stage costumes, and parties.
Since children’s skin is delicate, it’s essential to choose fabrics that are soft and gentle, especially for girls with sensitive skin. If you are unsure whether a fabric is safe for children, you can consult us for practical advice and guidance.
Step2. Designing the Dress Style and Taking Measurements
Girls’ dresses come in a wide variety of styles, each with its own unique charm. If you’re unsure how to design a dress, you can refer to our blog post: Types of Hemlines on Girls’ Dresses. It introduces 20 different hemline styles along with their characteristics, which can be very helpful for your design inspiration.
Accurate measurements are the essential first step to ensure that the dress fits perfectly. Here’s a detailed guide to measuring the key parts of a girl’s body:
Bust: Have the girl stand naturally and breathe normally. Wrap a soft measuring tape horizontally around the fullest part of her chest. Ensure the tape is level and not too tight or too loose—the resulting measurement is her bust size.
Waist: Locate the narrowest part of her waist, usually just above the belly button. Wrap the tape around this point, asking her to relax her abdomen slightly for a more accurate and comfortable fit.
Hips: Stand behind the girl and find the fullest part of her hips. Wrap the tape horizontally around this area, making sure it lies flat against the body to avoid inaccuracies.
Dress Length: Measure according to the desired dress length. For a knee-length dress, measure from the waist to the knees; for a long dress, measure down to the ankles. You can also ask the girl how long she would like the dress to be—after all, it’s her special creation too!
By following these steps carefully, you’ll have the precise measurements you need to make a dress that fits beautifully and feels comfortable, ensuring your little girl looks and feels her best.
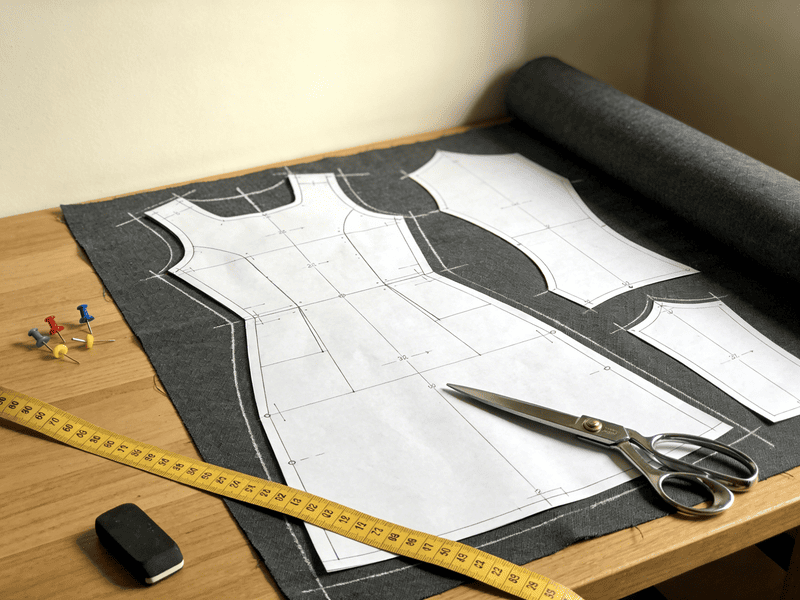
Step3. Pattern Making and Fabric Cutting
Pattern Making
Pattern making is the process of transforming your design sketch into an actual paper pattern. Beginners can either purchase ready-made patterns or create custom patterns based on precise measurements.
How to Draft Your Pattern
- Draw the Outline: Sketch the dress outline on paper using your measurements. Define the style and size for the neckline, cuffs, and hem. Neckline shapes—round, square, or V-neck—impact the overall look. Choose the silhouette, such as a shift, A-line, or bubble dress. If unsure, sketch multiple versions to compare.
- Add Seam Allowances: Add 1-1.5 cm of seam allowance evenly around the outline. This is crucial for sewing. Ensure consistency to maintain symmetry. Pay close attention to side seams and shoulder seams.
- Design Details: Add specific style details. For example, a princess dress might feature lace trim. A vintage style might use puff sleeves or ruffles. Mark these clearly on the pattern to ensure precision.
Cutting the Fabric
Cutting transfers the pattern onto the fabric to create the garment. Precision is vital here. It directly impacts the final fit and shape.
- Check the Grain: Align the pattern with the fabric grain. This usually runs parallel to the selvage edge. Proper alignment prevents warping or unevenness. Feel the fabric to check the grain direction.
- Cut Cleanly: Use sharp scissors to cut carefully along the pattern lines. Clean edges ensure smooth sewing. Be extra careful with curves. If cutting freehand is difficult, trace the outline with a pencil first.
- Leave Extra Room: We recommend leaving an extra 1-2 cm beyond the measurements. This allows for adjustments during sewing. It also helps correct potential mistakes.
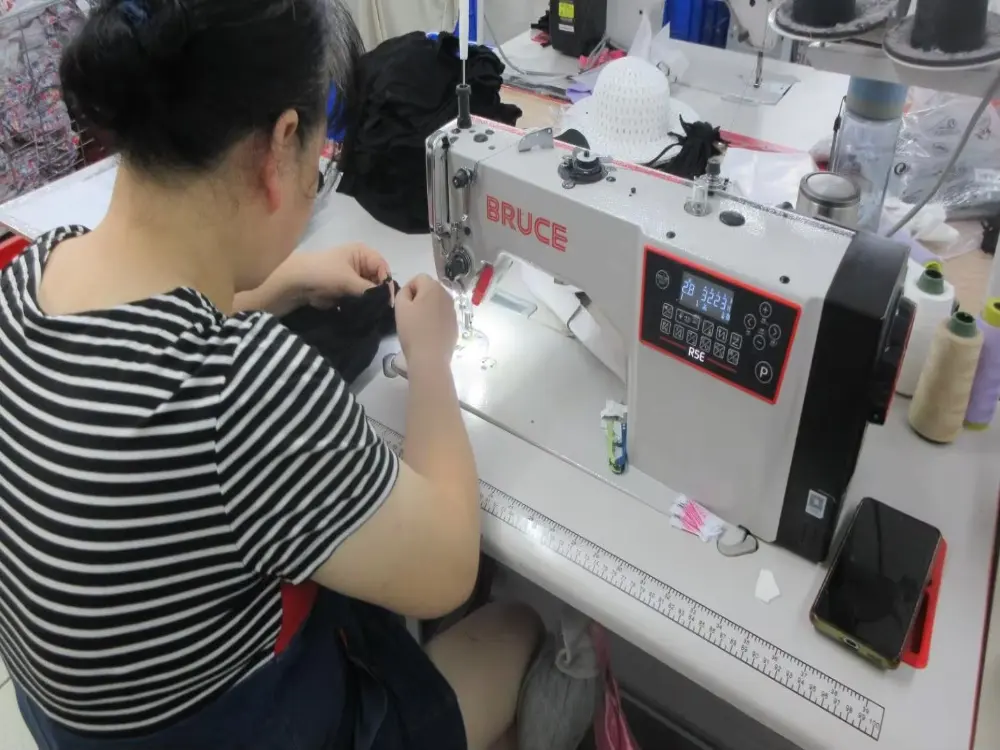
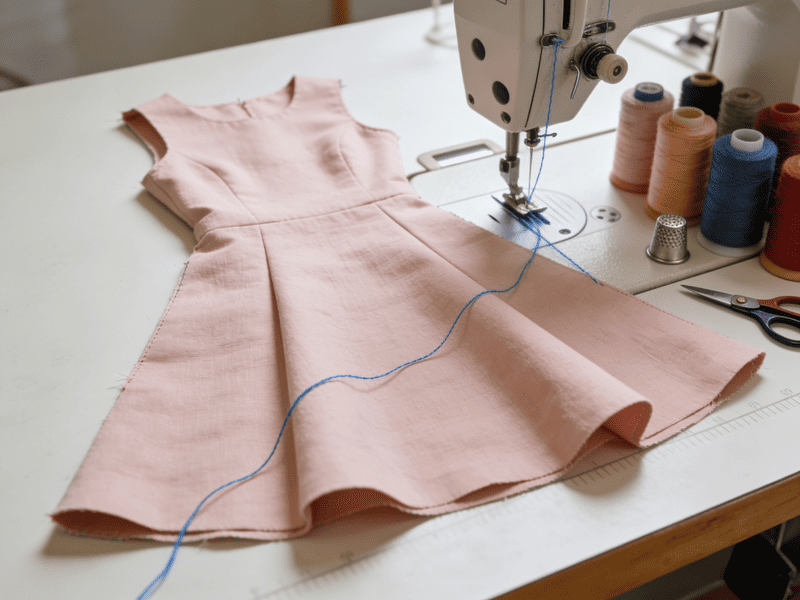
Step4. Sewing the Main Body of the Dress
Now we move on to sewing the pieces together—arguably the core step in making a dress. This process requires a certain sequence and technique to ensure a polished result.
Sewing the Bodice: Begin by aligning the front and back bodice pieces with the right sides facing each other, then sew the shoulder seams. Next, align the side seams at the underarm and sew them together. When using a sewing machine, a stitch length of 2–3 mm is recommended.
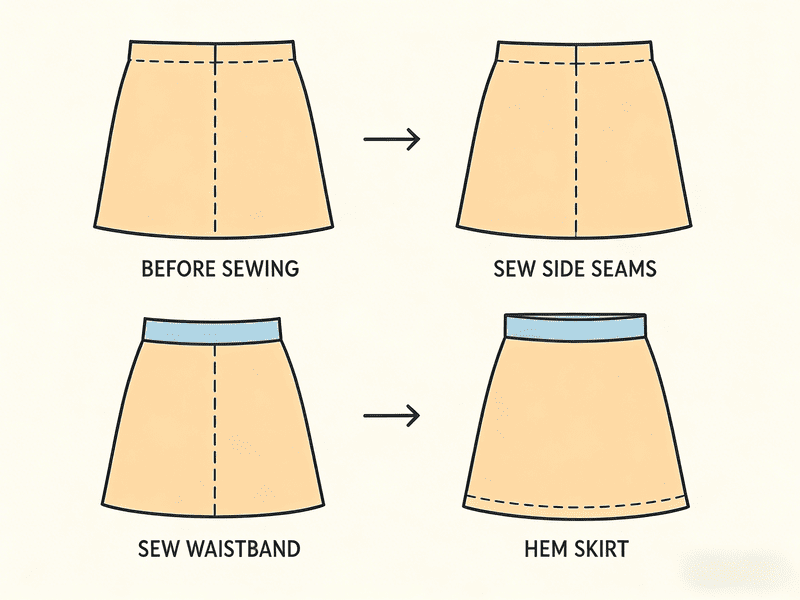
Assembling the Skirt: Prepare the skirt panels according to the chosen style. For an A-line skirt, simply join the panels together. For a puff or gathered skirt, press the pleats or gathers first before sewing. Once the skirt is ready, align it carefully with the waistline of the bodice and sew securely, making sure the proportions are balanced.
Finishing the Edges: For the neckline, you can choose to add a facing or binding; if using binding, ensure it is neither too tight nor too loose. For sleeve openings and the hem, options include turning under the edge or adding lace trim, keeping the width consistent and placement neat.
Tips During Sewing: Continuously check the fit and appearance as you sew, making adjustments as needed. If you are not yet confident with a sewing machine, practice on scrap fabric first.
Step5. Adding Decorative Elements
Now is the time to get creative. Add decorative touches to make the finished dress truly unique and beautiful.
- Bows: You can make bows from matching fabric or use ready-made ones. Here is a simple method: fold two fabric rectangles and sew the edges. Turn them right side out and cinch them in the center. Attach the bow to the neckline, waist, or hem as desired.
- Lace: Add lace trim to the neckline, cuffs, or hem. This creates a romantic, sophisticated look. Ensure the lace style complements the overall design. Use fine stitches. This ensures the lace stays secure and looks neat.
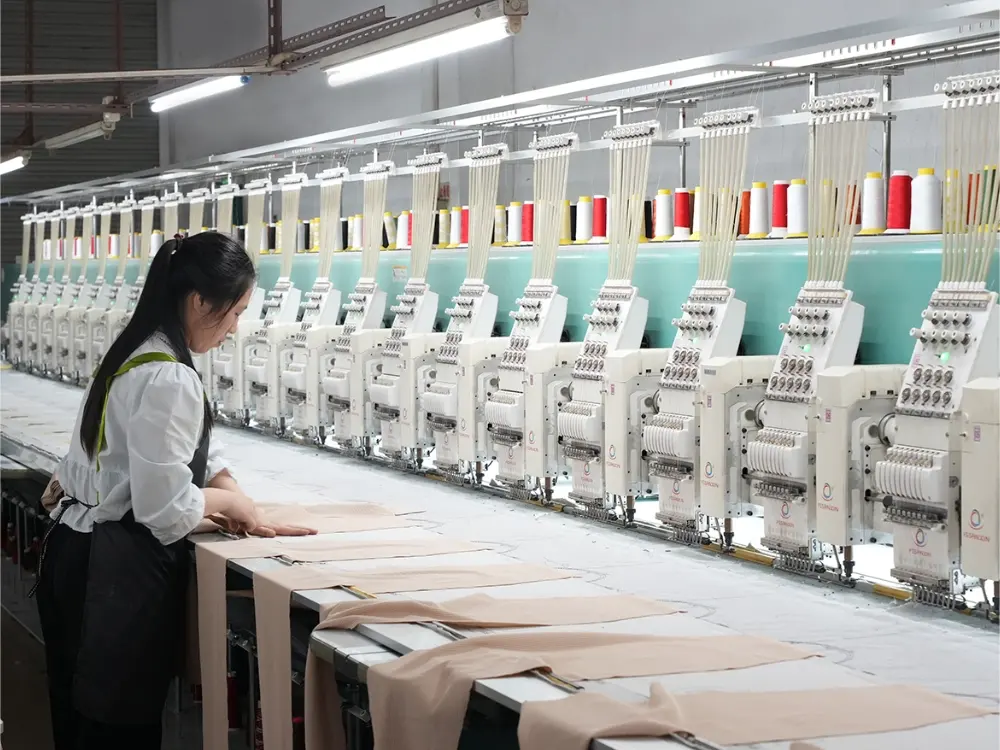
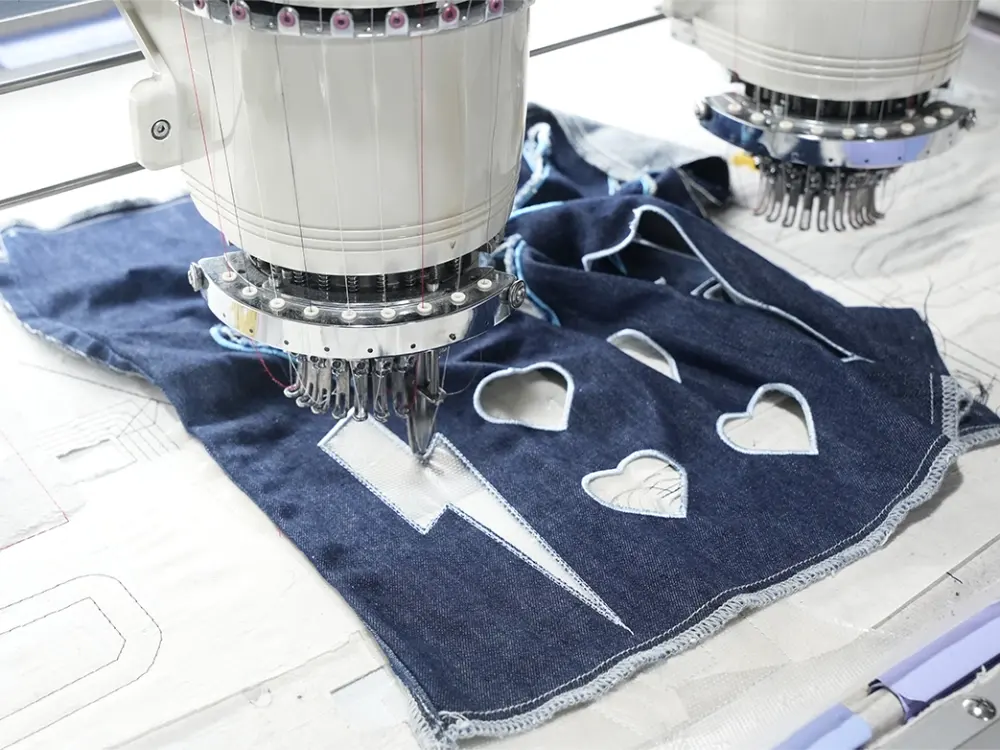
- Embroidery: Embroidery adds a personal touch. Try patterns like flowers, animals, or other designs. Beginners should start with simple shapes. Stitch carefully using embroidery thread. This creates a beautiful, handcrafted finish.
Step6. Fitting and Adjustments
After completing all the previous steps, your girls’ dress is finally taking shape. But don’t celebrate just yet—you need to try the dress on to check for fit issues or areas that might need improvement. Here are some practical adjustment tips for common problems:
Waist Fit:
If the waist is too large, mark the dress while it’s being worn and take in the side seams accordingly.
If the waist is too tight, carefully open the side seams and insert matching fabric strips before sewing them back.
Neckline Fit:
If the neckline is too tight, carefully undo the stitches, slightly enlarge the opening, and resew the edge, or add lace trim to widen it.
If the neckline is too loose, add hidden buttons or adjustable straps on the inside to tighten it.
Hem Length:
If the hem is too long, trim the excess evenly and re-finish the edge.
If the hem is too short, extend it by adding matching fabric, lace, or trim at the bottom.
Important Considerations
Creating a dress for a girl is more than just making a garment—it’s about crafting a piece that combines safety, comfort, and joy. When you make a dress, every detail matters. Here are the essential considerations to keep in mind throughout the sewing process:
Safety First
Always choose eco-friendly fabrics certified by OEKO-TEX®. Avoid small embellishments that could easily detach. All drawstrings and cords must comply with international children’s clothing safety standards regarding length, ensuring both physical and chemical safety.
Comfortable Fit
The pattern should allow ample room for movement. Provide sufficient ease around the armscye and shoulders, and incorporate growth-friendly features such as adjustable straps and elasticized waistbands to extend the garment’s wearability over time.
Pre-Shrinking Fabric
Wash the fabric before cutting to pre-shrink it, preventing unexpected shrinkage after the first wash of the finished dress. After drying, press the fabric to remove wrinkles.
Precision in Construction
Cut the front piece slightly longer than the back to better fit a child’s body proportions. Seam edges should be neatly finished (e.g., with overlocking), and stress points reinforced to ensure durable stitching capable of withstanding repeated machine washing.
Test Before Finalizing
Always make a muslin prototype using inexpensive fabric and have the child try it on. Additionally, conduct small-scale wash tests on fabric swatches to determine shrinkage rate and colorfastness beforehand—this step is crucial to guaranteeing a well-fitting, long-lasting final product.
Beginner Tips
Start with simple dress styles like straight, A-line, or elastic-waist dresses to make cutting and sewing easier. Choose soft, easy-to-sew fabrics such as cotton or cotton-linen blends.
Use clear cutting lines and templates to reduce mistakes. Practice basic sewing skills—straight stitches, hemming, and simple decorative stitches—before assembling the full dress. Check measurements and seams carefully to improve the final result and build experience for more complex designs.
How to Create a Unique Girls’ Dress
Creating a unique girls’ dress goes beyond sewing—it’s about connecting the brand, child, and parent. Fabric choice is key: beyond comfort, special effects like sequins can make a dress sparkle, spark curiosity, and express personality.
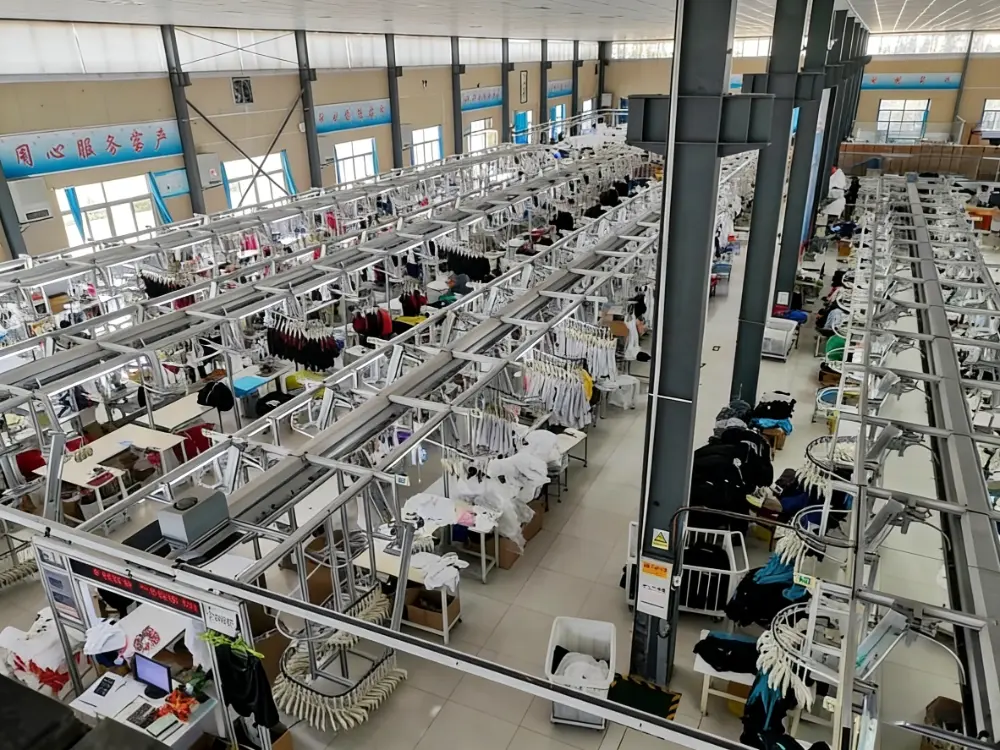
At HAPA, over 20 designers craft trendy, high-quality dresses using techniques like sequins, beading, and tie-dye, ensuring each piece is one-of-a-kind. If you need design inspiration, our team can help you explore creative ideas.
Conclusion
You must be eager to create a one-of-a-kind dress for your little girl! We look forward to seeing your creation.
Do you run a children’s clothing brand? Are you looking to design or produce unique dresses? Contact HAPA anytime. Get more fashion inspiration and creative ideas here.
FAQ
How to make a kids dress easy?
Start with a beginner-friendly pattern. A “pillowcase dress” is the easiest style to sew. It involves straight lines and requires no zippers or buttons. You can also trace a well-fitting T-shirt to create a simple template. Using elastic for the neckline or waist makes construction faster.
How much fabric is needed for a girl’s dress?
The amount depends on the child’s age and the dress style. Generally, a dress for a toddler (ages 2-4) requires about 1 to 1.5 yards of fabric. For older girls (ages 5-8), you will typically need 1.5 to 2 yards. Always purchase slightly more fabric than estimated to account for shrinkage and hems.
How to design a dress for a girl?
Begin by choosing a comfortable silhouette, such as an A-line shape. Select soft, breathable fabrics like cotton or linen. Sketch the design to decide on sleeve length and neckline style. Ensure the design allows for easy movement and play. Avoid complex closures if you are a beginner.
How to make a simple dress look good?
Choose high-quality fabric with a vibrant print or color. Iron every seam flat as you sew to ensure a professional finish. Add simple embellishments like a ribbon sash, lace trim, or ruffle details. Ensure the hem is straight and the fit is correct for the child.