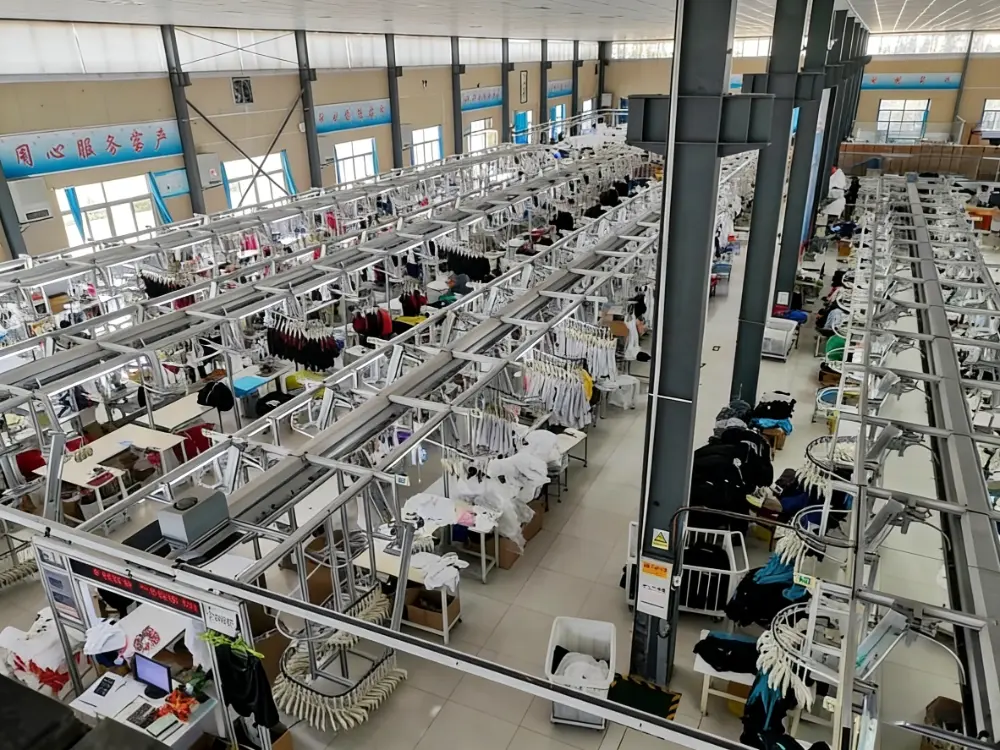
You’ve finalized your clothing design, and you’re ready to partner with a factory to turn your creative vision into a physical product — only for them to ask for a complete Clothing Tech Pack. If you’re feeling confused about what this document is and why it’s non-negotiable, you’re far from alone.
In simple terms, a garment tech pack is the architectural blueprint for your design. Only a detailed, comprehensive document can clearly communicate exactly what you want the factory to produce, translating your design, sizing, fabric, and construction requirements into the exact finished product you’re imagining.
To be frank, in my 16 years as a garment manufacturer, I’ve reviewed tens of thousands of tech packs — and shockingly few of them are up to professional, production-ready standards. That’s why, in this guide, I’m drawing on my decades of industry experience to break down exactly how to organize this data, plus share the core apparel tech pack template you need to ensure your garments are produced with perfect accuracy, every single time.
What is a Clothing Tech Pack?
A clothing tech pack (short for Technical Package) is a comprehensive document created by a designer or brand, containing every single specification and detail required to manufacture your garment. It acts as a detailed, step-by-step operating manual for the factory, bridging the gap between your creative design and the physical manufacturing process.
Put simply: if a fashion sketch shows what your garment looks like, a tech pack explains exactly how to make it. If you are a new brand founder wondering how to make a tech pack from scratch, this document is your starting point.
A complete tech pack will always include these core components:
- Technical Flats (CAD Drawings)
- Bill of Materials (BOM)
- Points of Measure & Size Spec Sheet
- Construction & Sewing Details
- Labeling & Packaging Instructions
Why This Document Matters More Than You Think
Whether you’re a first-time founder, a freelance designer, or running an established brand, a good tech pack is the single best way to avoid miscommunication with your factory. And less miscommunication means fewer expensive mistakes, shorter delays, and way less back-and-forth on samples.
It stops costly sample revisions dead in their tracks
The #1 headache brands face with factories is miscommunication. If you don’t spell out every detail, the factory will fill in the blanks with their own assumptions — and those assumptions are almost never what you wanted. A tech pack gives everyone involved a single, clear source of truth for your design, so there’s no room for misinterpretation.
I’ve seen brands go through 5+ rounds of samples because they didn’t have a solid tech pack, wasting months of time and thousands of dollars on fabric and labor. A detailed tech pack gets you to a perfect sample in 1-2 rounds, max.
It locks in an accurate, no-surprises quote
If you email a factory a picture of a kids’ dress and ask “how much will this cost to make?”, the best they can give you is a rough, ballpark estimate. And that estimate will almost always go up once they start production, because they didn’t have all the details upfront.
Factories need to calculate exactly how much fabric they’ll use, how much each button, zipper, and snap costs, and how many hours of labor your design will take. A complete BOM in your tech pack lets them cost every single part of your garment down to the cent. No hidden fees, no last-minute price hikes, and you can calculate your profit margins with total confidence.
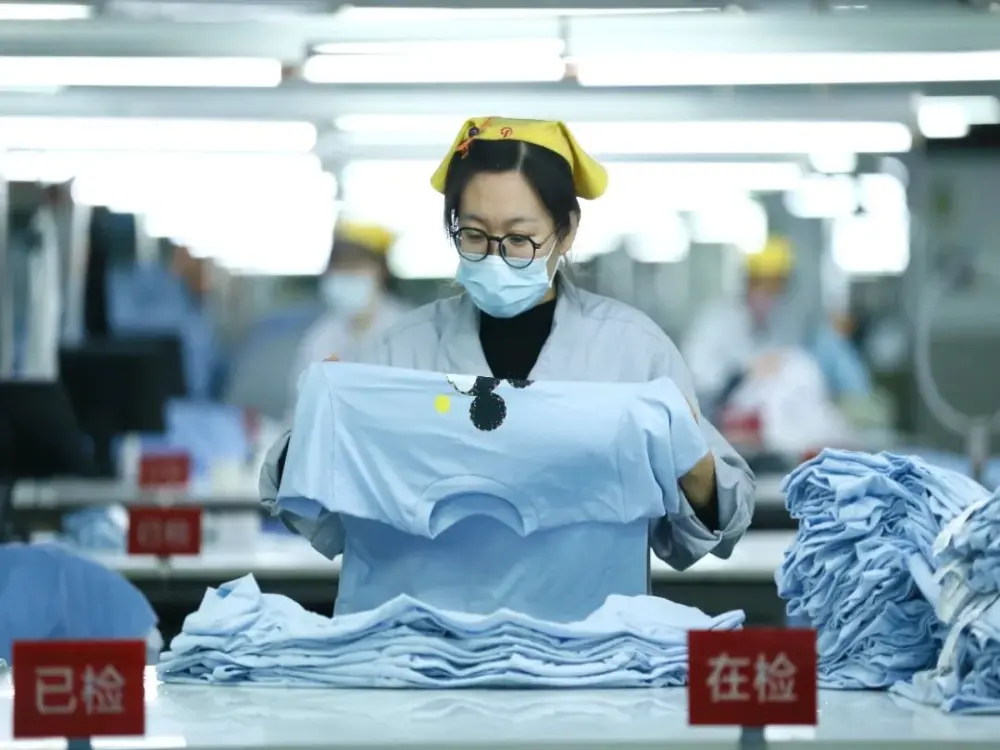
It’s your ultimate quality control tool
At the end of the day, your tech pack is your manufacturing contract. Once bulk production starts, it’s the only reference point you have to check if the factory made your clothes correctly. If your shipment arrives and the sleeves are an inch too short, or they used the wrong stitching, you can pull up your tech pack’s spec sheet and prove exactly where they went wrong.
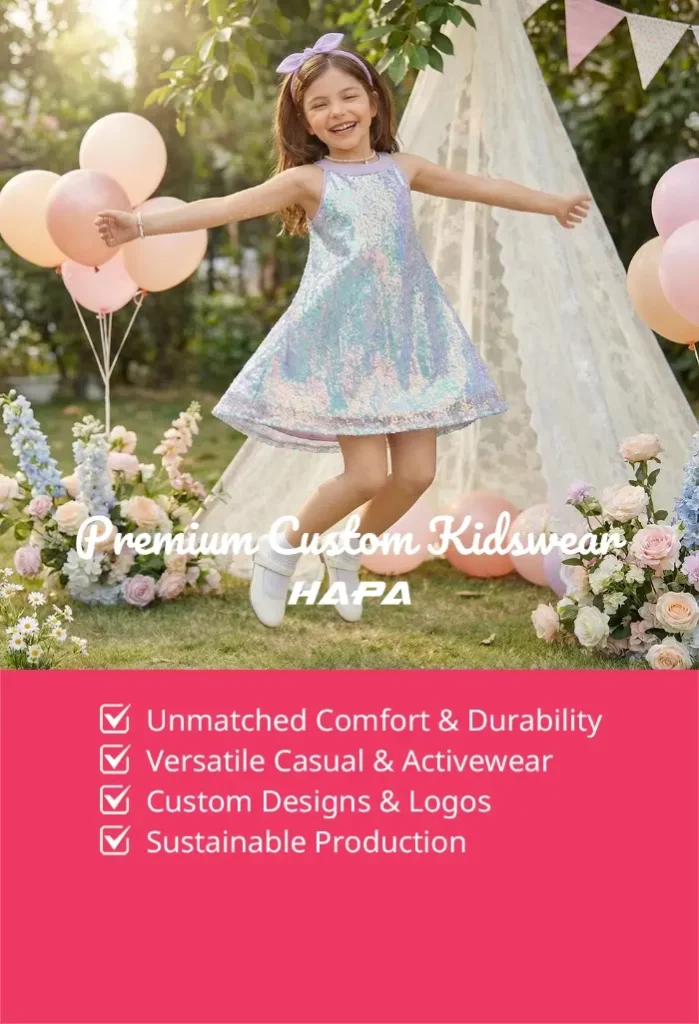
This is even more critical for kids’ clothing, where safety is non-negotiable. Your tech pack ensures that every detail — from how securely buttons are attached, to flat seams that won’t irritate a baby’s sensitive skin, to compliance with safety rules — is done the same way, every single time you run a production order.
How to Create a Clothing Tech Pack: Step-by-Step Guide
Now that we’ve covered why a solid kidwear tech pack is make-or-break for your line, let’s dive into the hands-on, actionable process. In my 16 years running a children’s wear manufacturing business, I’ve reviewed over 10,000 tech packs — so I know exactly what separates a messy, confusing draft that causes endless back-and-forth, from a factory-ready blueprint that gets your garment made right the first time.
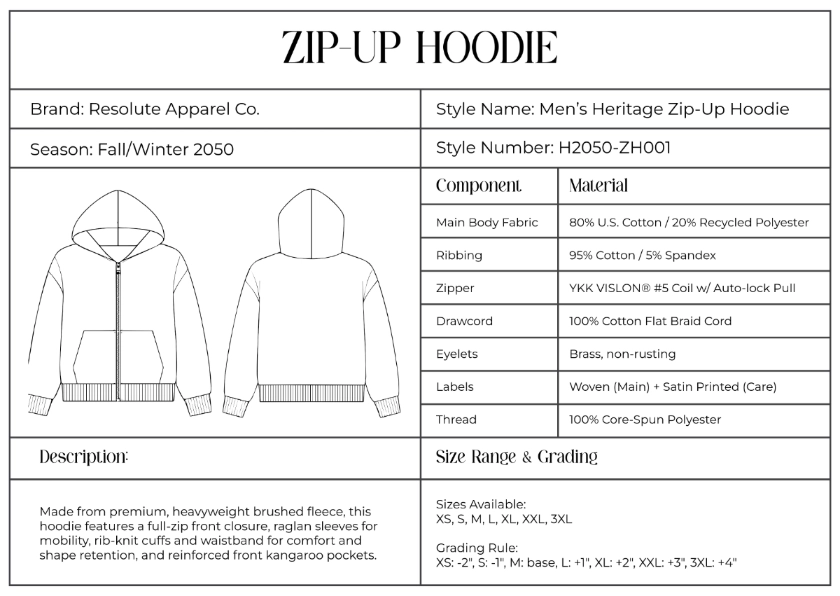
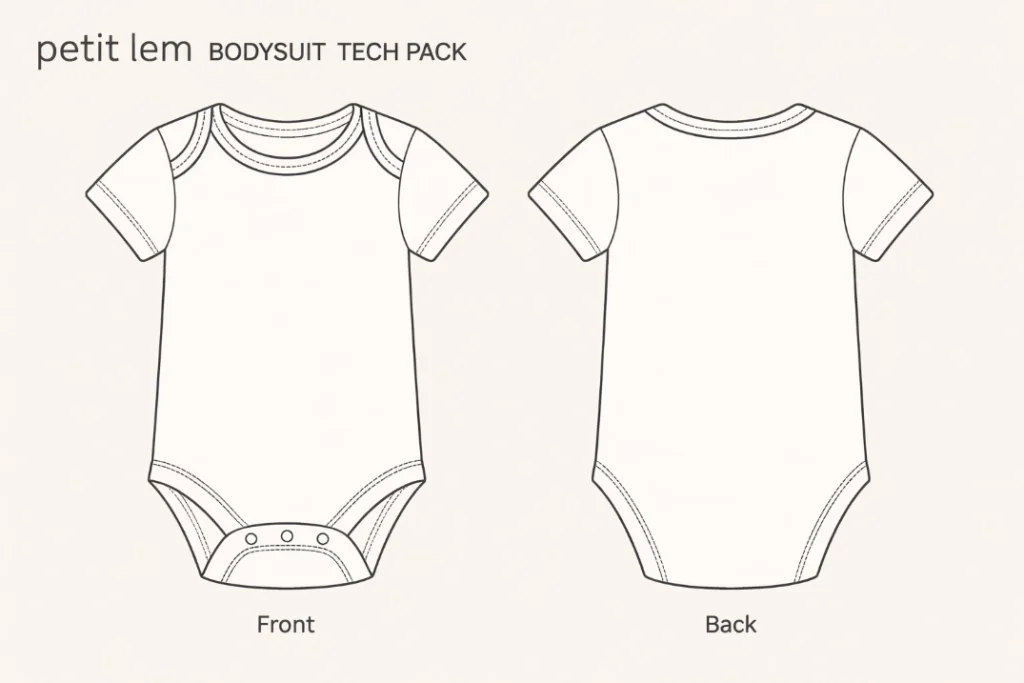
Step 1: Technical Flats (CAD Drawings)

Your tech pack needs to open with clear, visual representations of your garment, called technical flats (or CAD drawings, short for Computer-Aided Design).
First, a non-negotiable rule for new designers: these are NOT fashion illustrations. Your factory doesn’t care about artistic shading, dynamic model poses, or pretty renderings. What they need is clean, to-scale, 2D black-and-white line drawings.
You must include every angle of the garment: front, back, and side views, plus close-up zoomed-in shots of any complex internal details (like hidden pockets or specific neckline construction). Stick to the industry standard: solid lines for seams, dashed lines for topstitching and decorative details.
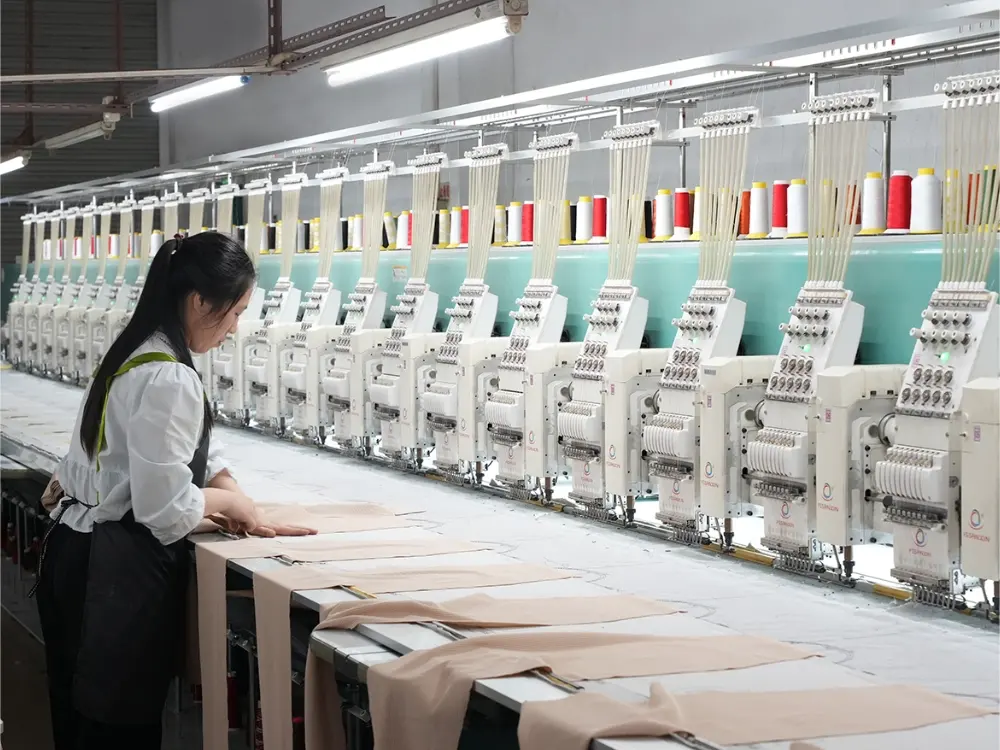
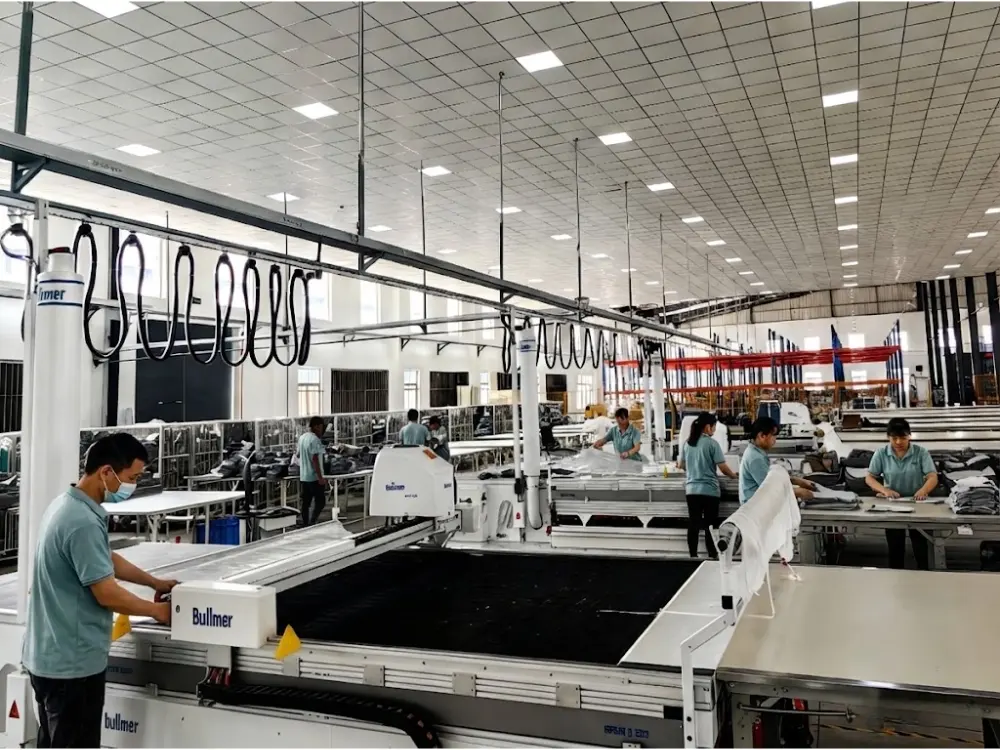
Step 2: Bill of Materials (BOM)
Think of your Bill of Materials (BOM) as the master recipe for your garment. It’s an exhaustive list of every single physical material and component you need to make the finished piece. Even one missing item on this list will grind your production to a halt and cause costly delays.
Your BOM needs to detail every single element, no exceptions:
- Main Shell Fabric: Full fiber content, weight (e.g., GSM, grams per square meter), and exact colorway specifications
- Lining Fabric: Full details, if lining is used in the garment
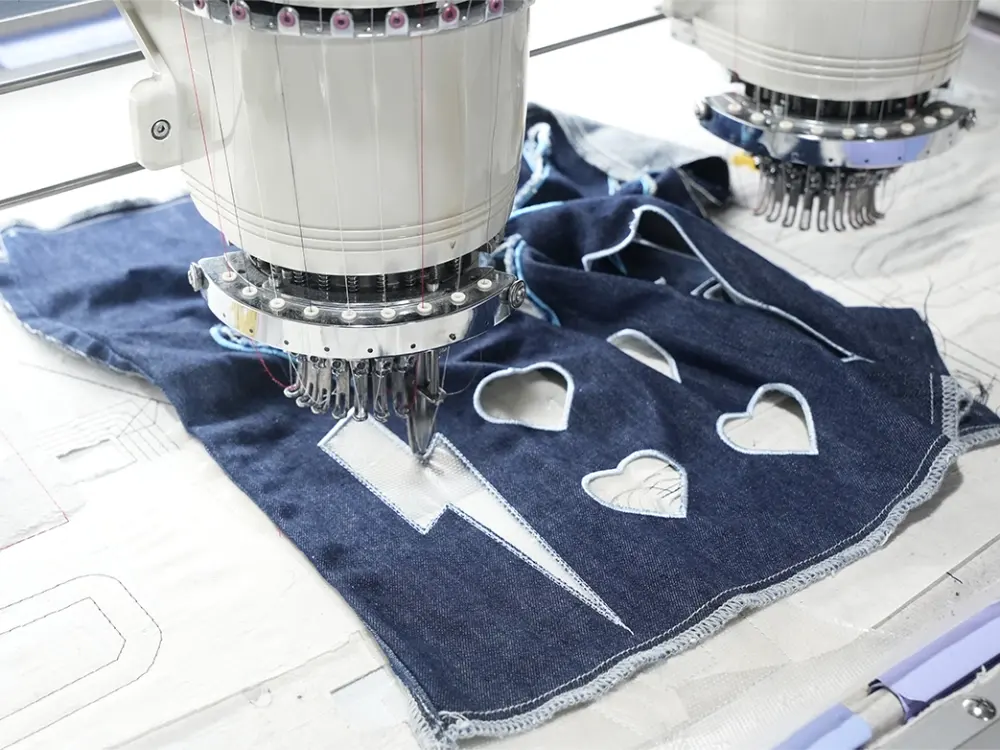
- Trims & Hardware: Buttons, zippers, snaps, elastic, drawcords, and every other small component
- Sewing Thread: Exact type, color, and thickness specifications
- For kids’ wear, this is where you’ll flag non-negotiable safety details front and center — things like nickel-free snaps, lead-free inks, or hypoallergenic fabric requirements.
Step 3: Points of Measure (POM) & Measurement Spec Sheet
A measurement spec sheet is the chart that defines the exact physical dimensions of your garment, so you get a perfect, consistent fit across every size, every production run. It uses standardized Points of Measure (POM) as your reference points — think chest width, sleeve length, drop shoulder measurement, and hem circumference.
There is zero room for cutting corners here, especially for kids’ wear. We’re dealing with strict safety regulations, and fit that needs to work for growing, active kids. Exact POM data is non-negotiable to make sure the garment is comfortable for children and meets global manufacturing safety standards.
Always include a “Tolerance” column in your chart, which defines the acceptable margin of error (almost always ±0.5 inches for children’s garments). Skip this, and you could end up with a size 2T that fits more like a 4T, and a whole batch of unsellable clothes.
Step 4: Size Grade Rules
You don’t need to build an entirely new tech pack for every size you plan to sell. Instead, you’ll set one “base size” (for example, a size 3T for kids’ wear), then define your grade rules.
Grading is just the mathematical process of scaling your base size up or down proportionally for every other size in your range. Your tech pack needs a clear, easy-to-read chart that details exactly how much each Point of Measure (POM) increases or decreases for smaller and larger sizes.
For example: if your base size 3T has a 19-inch chest width, your grade rule might specify that a size 4T adds 1 inch to the chest, for a total of 20 inches. This ensures your fit stays consistent across every size, no surprises.
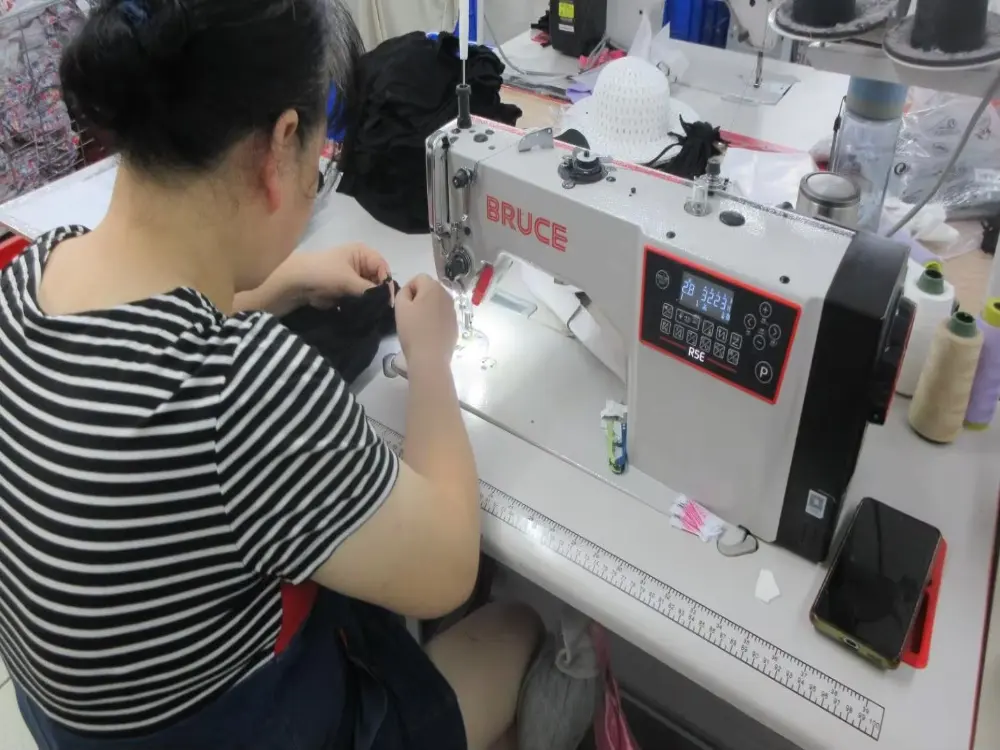
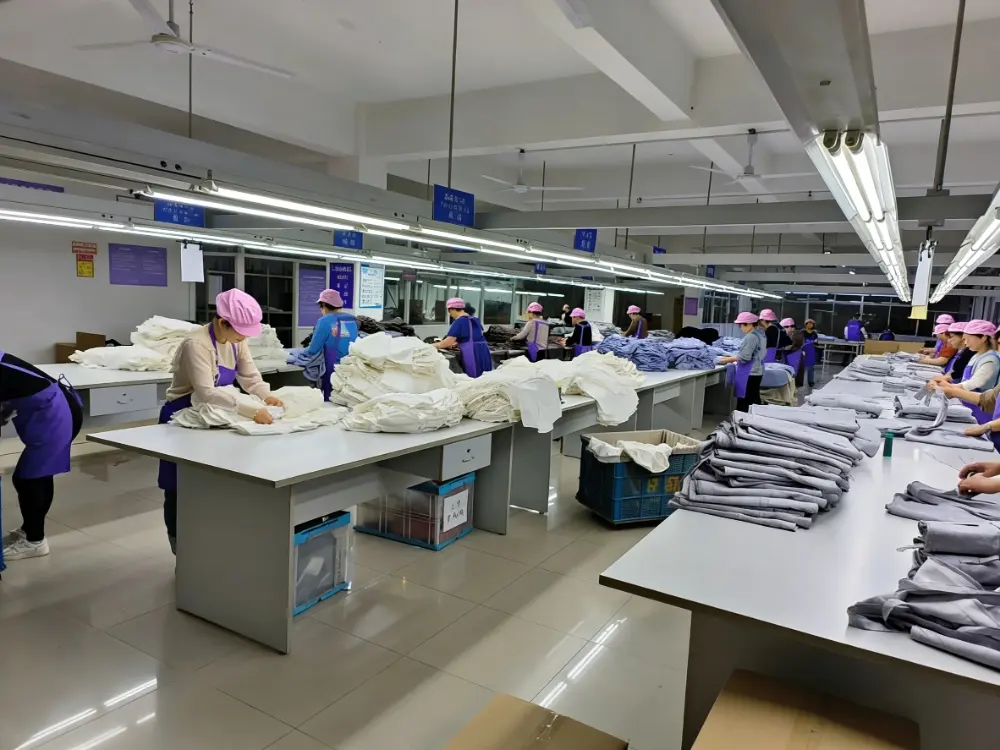
Step 5: Construction & Sewing Details
Never assume a factory will sew your garment the way you imagine it in your head. You have to spell it out, explicitly, no exceptions. This section is where you lay out your non-negotiable construction standards.
You need to specify exact seam types (e.g., French seam, overlock seam, flatlock stitch) and stitch density, measured in SPI (Stitches Per Inch). For high-quality, durable kids’ wear, a higher SPI means tighter, stronger seams that hold up to rough play and repeated washes.
Laying out these details clearly prevents messy, unprofessional finished garments, and ensures your pieces hold their structure and don’t fall apart after months of wear and washing. For kids’ wear, this is also where you’ll flag safety-critical details, like flatlocked seams that won’t irritate a baby’s sensitive skin, or reinforced snap attachment to prevent choking hazards.
Step 6: Care Labels, Hangtags & Packaging
A garment isn’t fully finished until your branding is applied and it’s packaged and ready for sale. Your tech pack must include clear instructions for every last one of these final steps.
Break it down simply:
- Labels: Specify the exact placement, dimensions, and material of your main brand label, plus your care and content labels. For kids’ wear, care labels are non-negotiable for safety and regulatory compliance.
- Hangtags: Include your retail hangtag design, plus exact instructions for where and how to attach it to the garment.
- Packaging: Lay out your exact folding specifications and packaging requirements. More and more brands and consumers prioritize sustainable, eco-friendly options here, like biodegradable poly bags or recycled paper. If you have bulk shipping requirements, like carton specs and packing list rules, add those here too.
Step 7: Build Out Your Production Timeline
A truly professional tech pack doesn’t just cover the garment itself — it sets clear expectations for lead times by laying out your intended production schedule.
While the factory will always need to sign off on final, firm delivery dates, laying out your ideal timeline upfront makes sure we’re all on the same page from day one. Your schedule should map out your key non-negotiable milestones, including the delivery deadline for the first fit sample, the cut-off for pre-production (PP) sample approval, the start date for bulk production, and your final ex-factory/ship date.
This is how you keep your product launch on track, and make sure your seasonal collections arrive exactly when you need them to.
Who Creates Tech Packs?
Tech Packs are typically created by the brand side — this includes in-house designers, technical designers, or product development teams. That said, factories may also assist with building a tech pack in some cases, most often when there’s an established, long-term partnership between the brand and the manufacturer.
As a full-service children’s apparel manufacturer offering end-to-end OEM and ODM solutions, we know firsthand that not every brand founder is a professionally trained technical designer. If you come to us with a standout creative vision, but don’t have a formal tech pack in hand, our in-house technical team will work with you to build a complete, factory-ready tech pack from scratch.
Best Software and Tools to Create a Tech Pack
You don’t need pricey enterprise-level software to create a professional, factory-ready tech pack. For most independent designers and new brand founders, a simple combination of Adobe Illustrator (for clean, vector technical flats) and Microsoft Excel or Google Sheets (to organize your BOM, POM, grading rules, and other numerical data) is more than enough. This approach is not only extremely cost-effective, it’s also widely accepted and used across the entire apparel manufacturing industry.
As your brand scales, you may eventually move to a specialized PLM (Product Lifecycle Management) software to streamline the management of complex, multi-style collections. But when you’re just starting out — especially for your first production run — this is absolutely not a requirement.
Common Mistakes to Avoid When Creating a Tech Pack
Even with the best intentions, new creators often make critical mistakes when building their first tech pack — mistakes that lead to production delays, wasted materials, and even unusable samples. In the apparel manufacturing world, leaving room for interpretation on any detail is an expensive gamble.
These are the most common mistakes I see in the thousands of tech packs that cross my desk:
- Incomplete specifications: Never leave out critical details like fabric type, stitching construction, or final garment measurements. Missing information doesn’t just confuse your manufacturer — it brings your entire production timeline to a halt.
- Missing or vague size spec sheets: Your spec sheet is the foundation of a well-fitting, consistent garment. Avoid ambiguous measurements at all costs, and make sure every size has clear, hyper-accurate specifications laid out.
- Unclear trim and material specifications: Always spell out every single detail, down to the exact type and style of buttons, zippers, or thread you want used. Incomplete descriptions can lead to the manufacturer using the wrong trims, which will alter the look, feel, and even functionality of your final product.
- When we spot these issues in a tech pack, we have to pause production immediately to clarify details with the brand — and that will almost always push back your delivery date.
How to Avoid These Mistakes
To avoid confusion for your manufacturer and keep your production on track, follow these simple rules:
- Keep your language clear and concise: Skip vague, abstract fashion jargon, and stick to universal manufacturing terms that every factory will understand.
- Keep your information consistent: Double and triple-check that your CAD drawings, spec sheets, and BOM all align perfectly, with no conflicting details.
- Use visual references whenever possible: If you’re not sure how to describe a specific pocket construction, or a unique eco-friendly packaging fold, include a clear reference photo of an existing product. A high-quality reference image is almost always better than a long, vague written description.
Ready for Production? Find the Right Manufacturer
Building a detailed, factory-ready Clothing Tech Pack is the single most critical step to turning your design vision into real, sellable garments. Whether you already have a completed tech pack template or are still figuring out how to make a tech pack, it’s my hope that this guide has shown you the process is completely doable and well worth the effort to get right.
At HAPA, we’re a full-service children’s wear manufacturer with end-to-end design and production capabilities. We deliver complete, turnkey solutions for brands: from innovative design development and full kidwear tech pack creation, to premium, safety-compliant manufacturing built to last. Our in-house technical expertise is here to help you build functional, hard-wearing kids’ garments that stand out and perform in today’s competitive market.
FAQ
What is a Clothing Tech Pack?
A Clothing Tech Pack is essentially the master blueprint for your garment. It contains all the vital specifications—including flat CAD sketches, measurements, material lists, and construction methods—that a factory needs to accurately manufacture your clothing line.
How to Create a Clothing Tech Pack?
If you are wondering how to make a tech pack, start by drawing accurate 2D flat sketches using vector software like Adobe Illustrator. Then, use Excel or Google Sheets to organize your technical data (BOM, POM, grading rules) into your tech pack template. Combine these elements and always export the final document as a single PDF before sending it to your manufacturer.
When should I start creating a garment tech pack?
You should start filling out your apparel tech pack template as soon as your initial design concepts are finalized, but before you reach out to a manufacturer. Having a completed garment tech pack ready is absolutely necessary to request an accurate production quote or order your first physical sample from a factory.
How often should a kidwear tech pack be updated?
A kidwear tech pack is a living document. It must be updated every single time a change is made during the sampling and fitting process. If you adjust a measurement, switch to a different fabric, or change a zipper style after reviewing a prototype, update your file immediately. This ensures the factory uses the correct, final specifications when they begin bulk production.